
Post by phoenix1967 on Jan 17, 2009 20:17:18 GMT -5
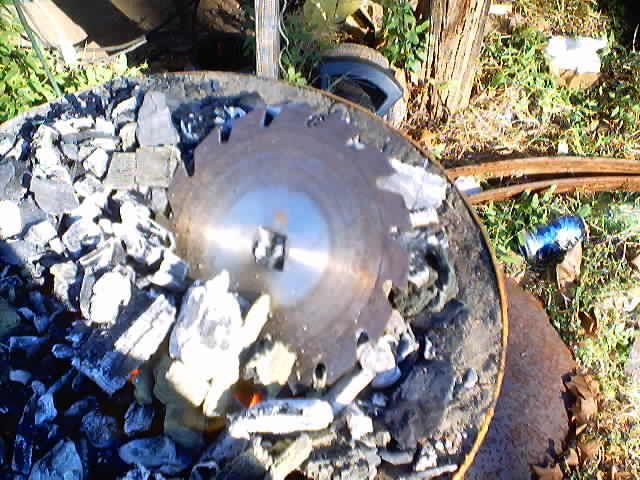
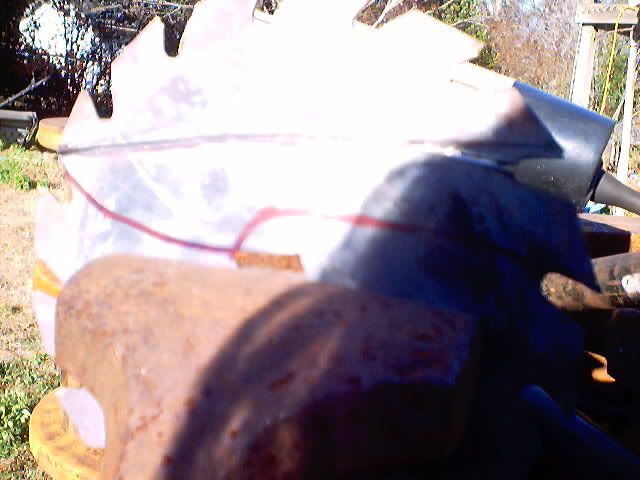
First we select the victim. You’ll notice that the blade has carbide tips…Hmm better check to see if it’s hardenable
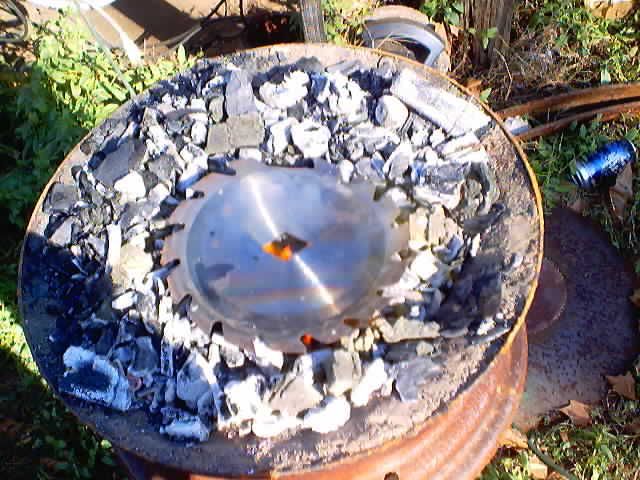
Heat one edge to red hot….
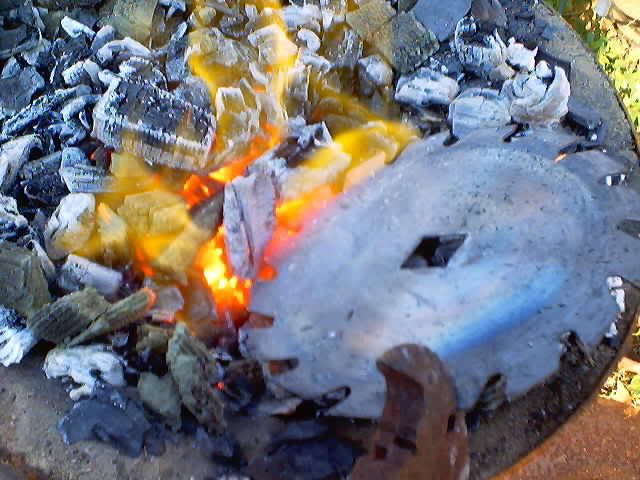
Dunk it quickly into water…
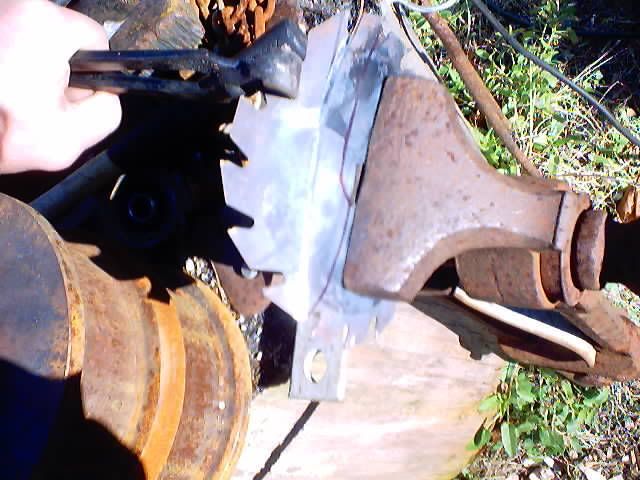
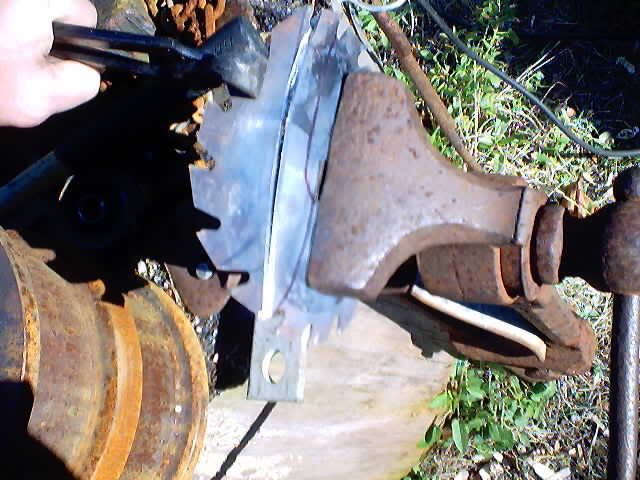
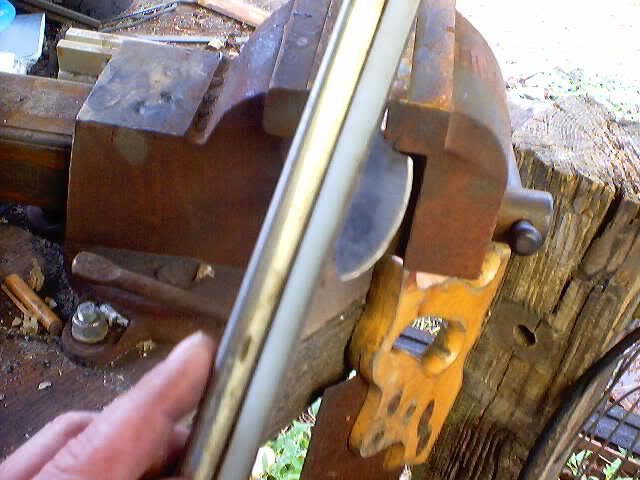
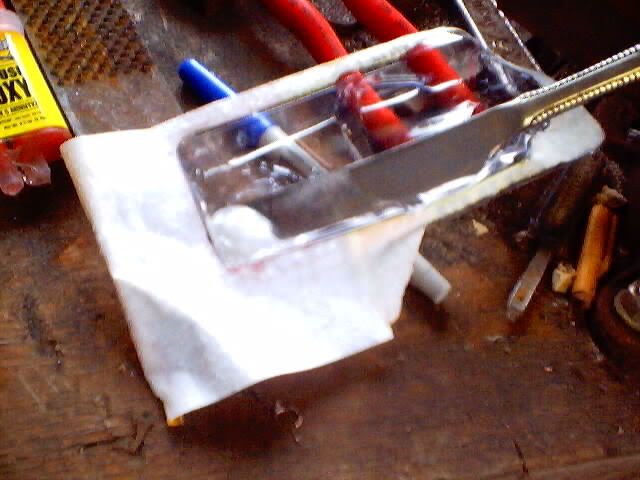
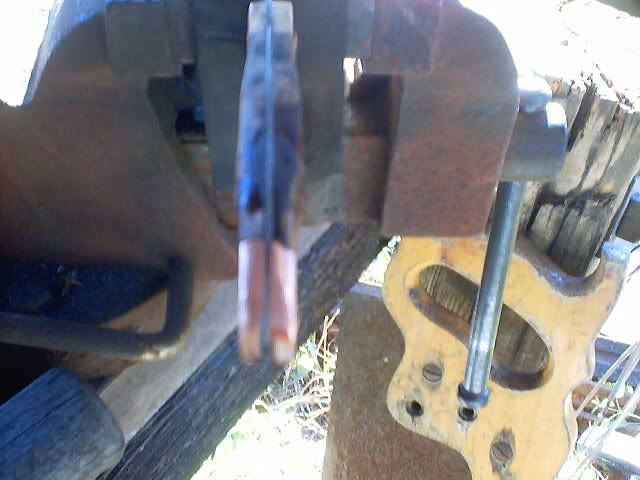
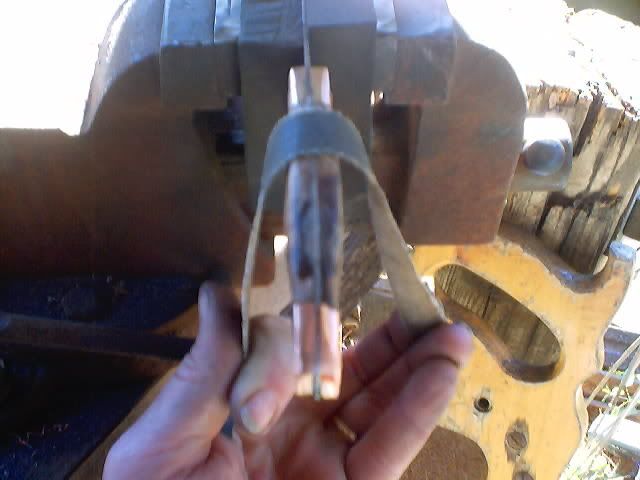
Lock it in the vice…
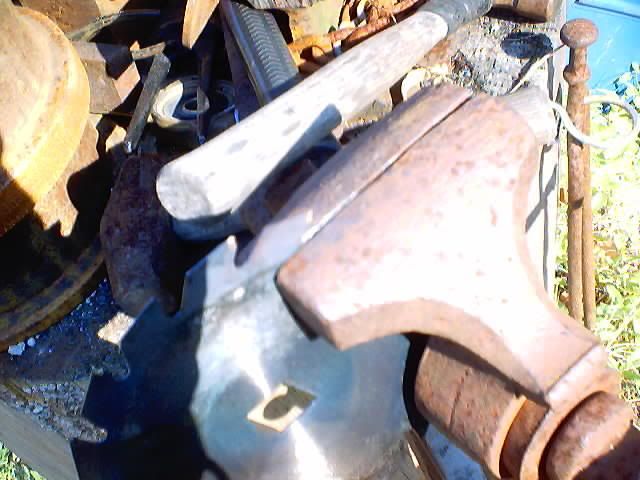
Make sure the tooth that’s showing is the one you heated and quenched…
Rap it with the hammer…
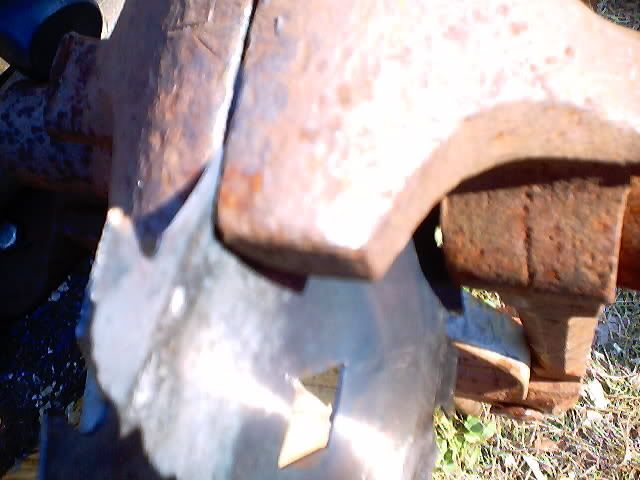
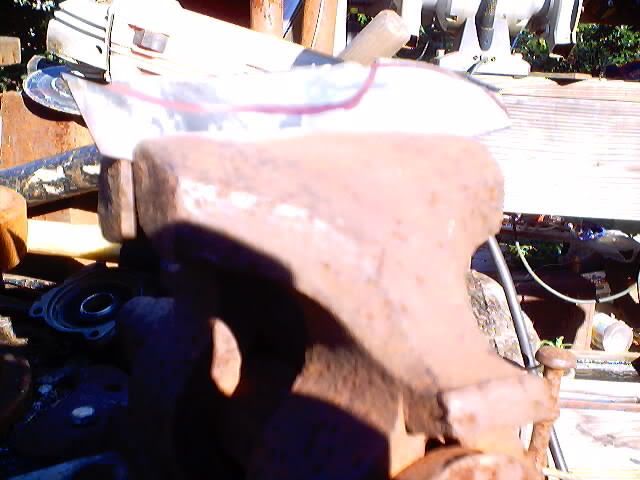
Ping!! A nice clean Break. This means that the steel is hardenable, so we can now start making a knife from it!
Back into the fire till it's red hot and then let cool
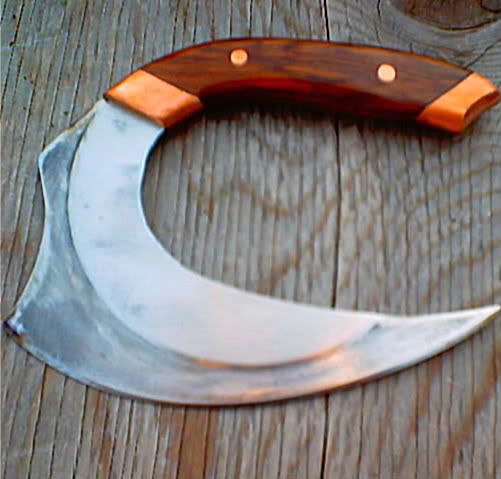
Draw out your design (there’s a limit to the size of knife you can get out of a 7 ¼ “ sawblade) Since I want it full tang, I’ll make a little kitchen utility design.
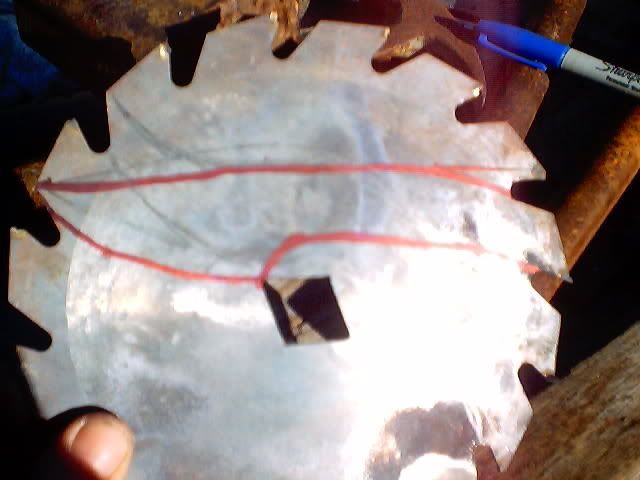
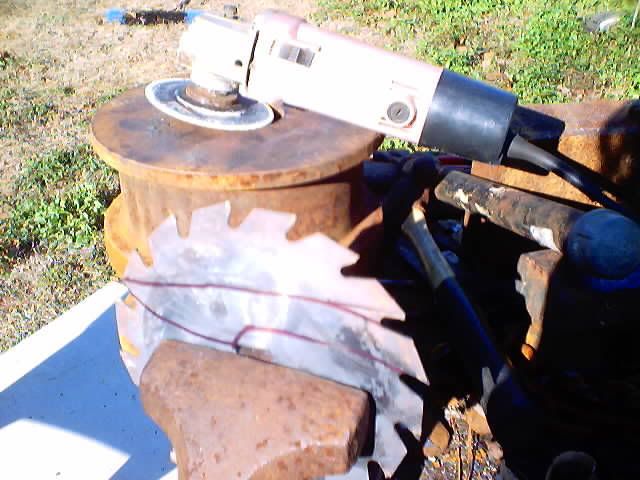
Now we get to the scary part. The angle Grinder is one of the most useful tools you can own, but it also houses the greatest potential for harm to oneself. On thin material like this, I like to score along the line (not cutting all the way through) then work it back and forth till it breaks. This helps minimize the chance of the cutting wheel sticking in the cut and avoids many painful (and sometimes embarrassing) incidents.
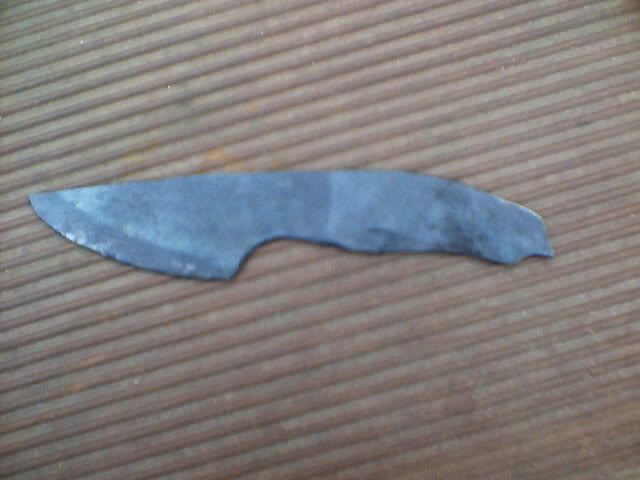
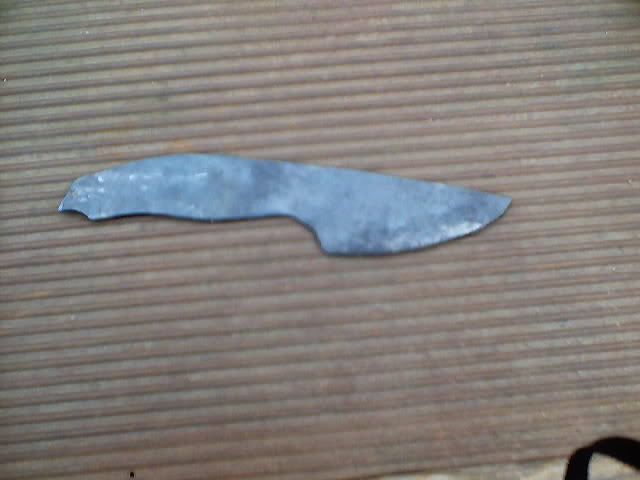
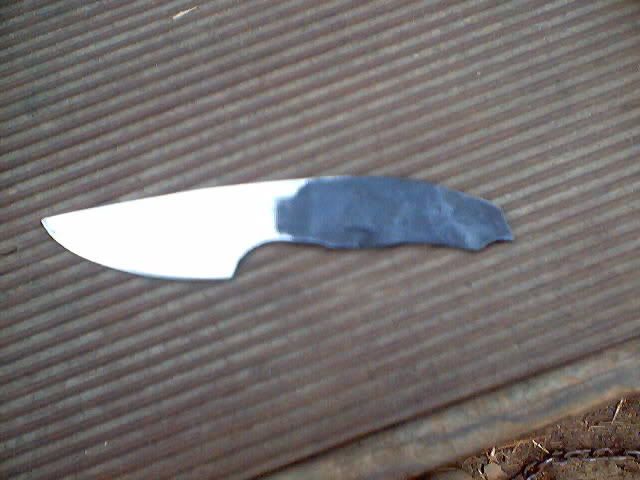
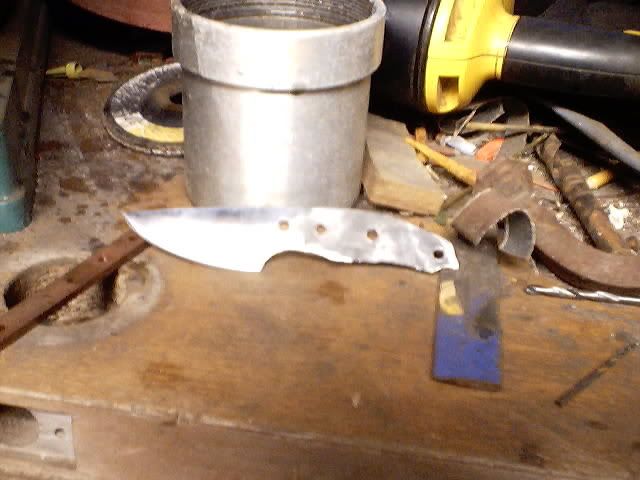
Here’s our rough cut blank after a little cleanup on the bench grinder
We'll finish it up tomorow!
Before we continue, lets talk a little bit about edge geometry. Yup, that's right, MATH!
As you can see, a simple drawing can help you figure out how wide the bevel should be. I chose an angle of 22 1/2 to dive this little knife a durable edge. the bevel should be 1/8 in per side. this works with thicker blades as well, for setting up the primary bevels.
Now I'm going out to make my coffee can forge!
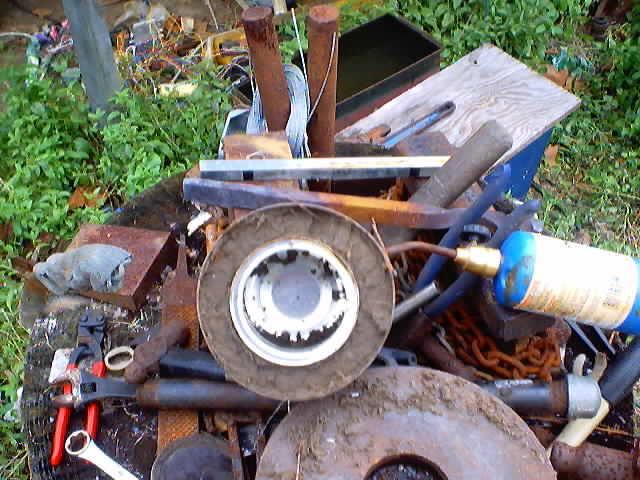
So here's what you need for a quick and dirty forge (BTW, playing with fire is dangerous, so don't come cryin to me if ya burn yer chicken nuggets)
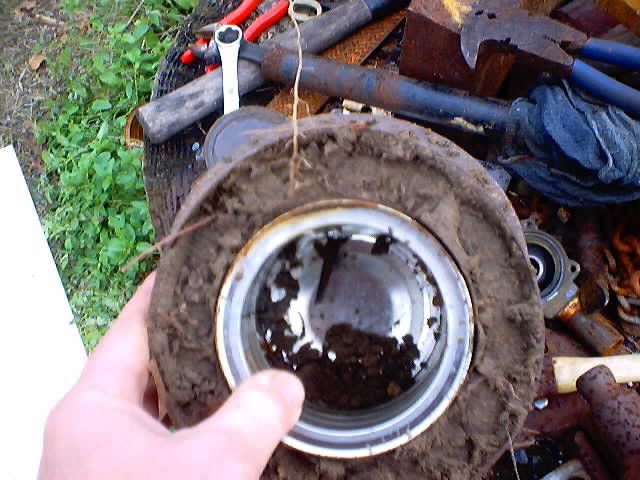
We have a one lb coffee can, a 3 lb coffee can, a weller propane torch and....
Dirt!
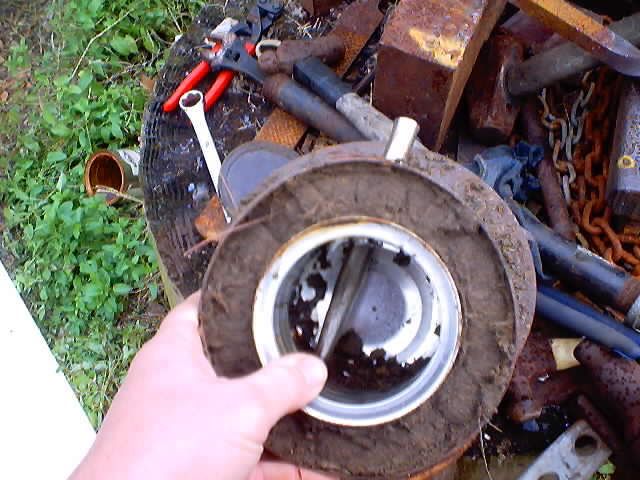
Ram the dirt tigtly around the outside of the indside can
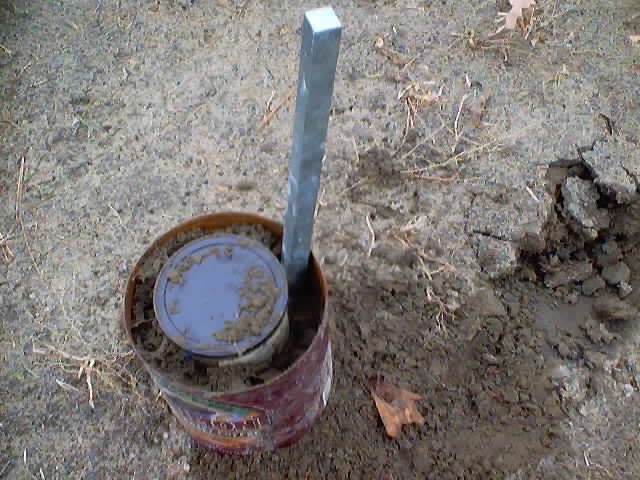
Viola! Now we need a hole in the can for the torch head. I ut the hole angling toward the right and forward. this helps with a swirl action.
You can use a drill bit to make the hole if you want, I just drove a sharp piece of steel through, followed by my high priced custom made punch (grin)
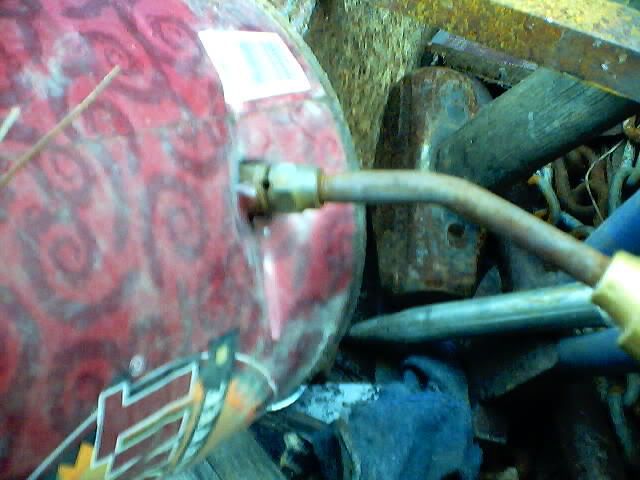
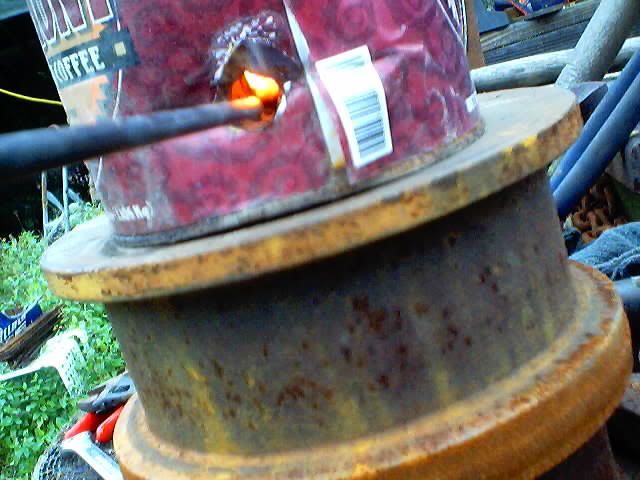
Now insert the torch head in the hole
Note that I left the air holes for the torch head on the outside of the can
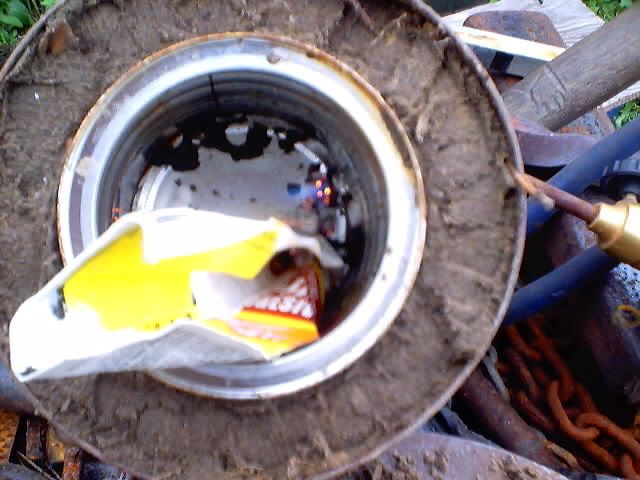
Insert a piece of burning paper, and turn on the gas
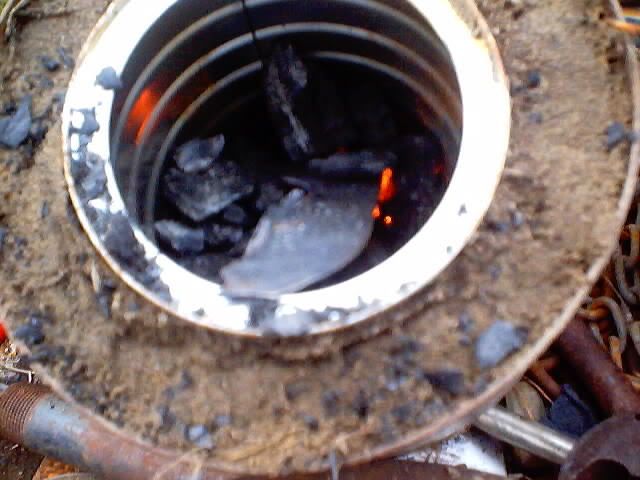
Now here's the trick. By itself, the propane torch does not have enough BTU's to heat the cubic inches inside our forge. So we add a handfull of charcoal.
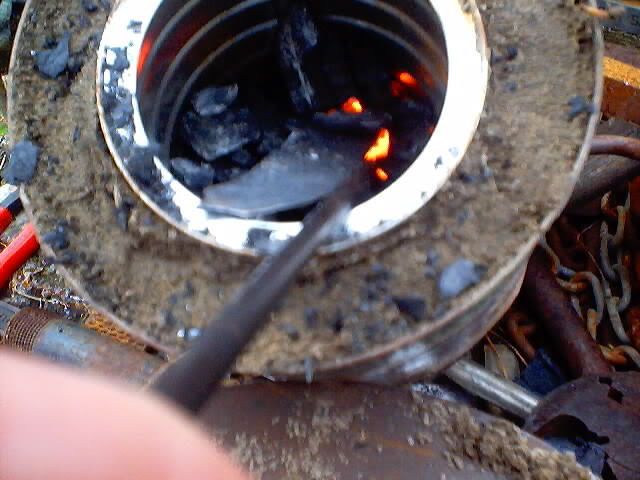
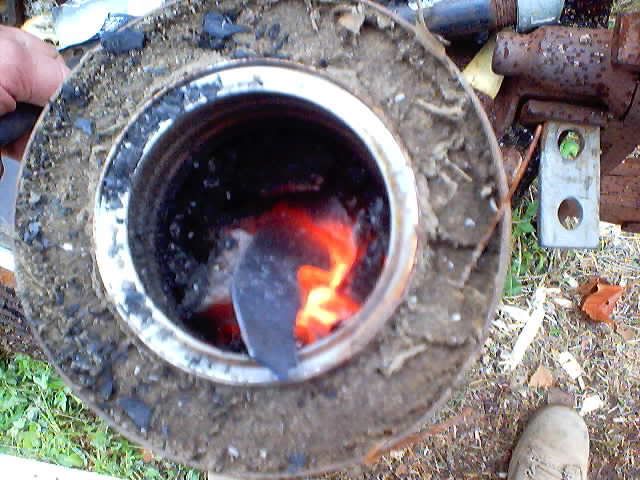
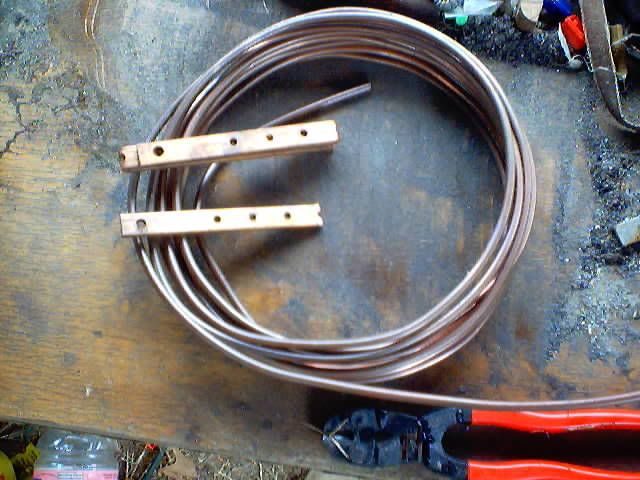
Once the charcoal is burning well, turn off the torch, grab a piece of tubing for a blowpipe (1/4" pipe works well) remove the torch, and blow into the hole. If you put a 90 deg bend in your blowpipe, you can watch. You don't need to hyperventilate doing this, just breath in normally through your nose, and breath out through your mouth and the tube. There is an almost Zenlike satisfaction that settles over you when you do this.
When it's a good even red, Quickly dunk it in the oil. There will be a momentary flash of fire, so don't panic.
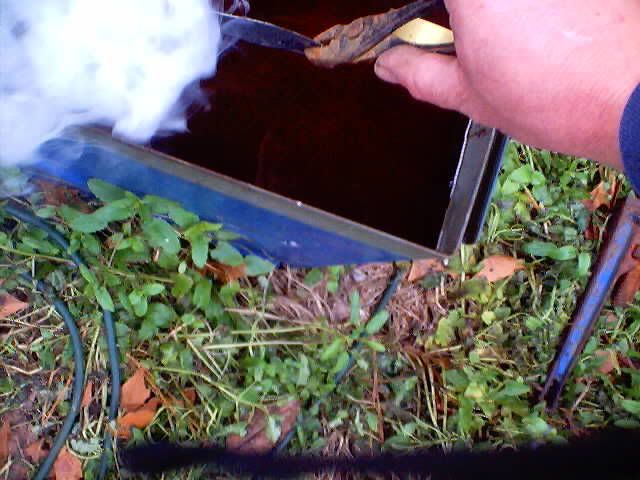
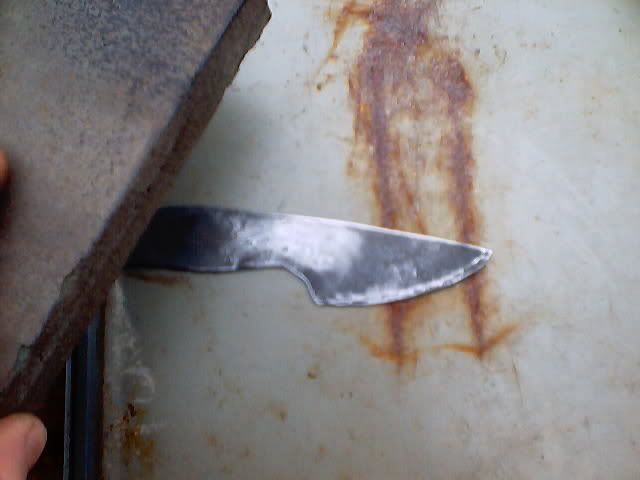
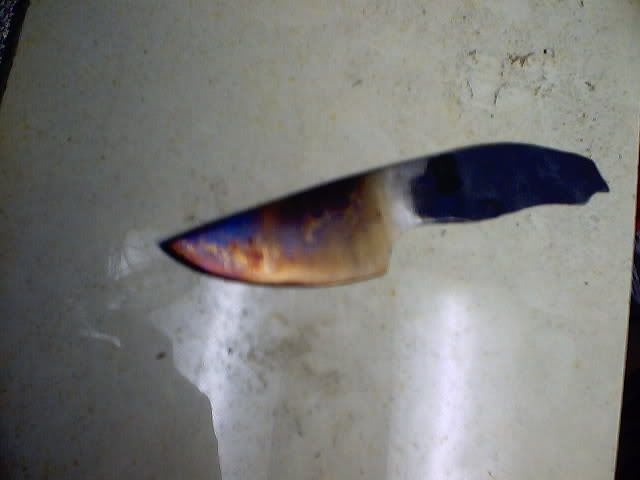
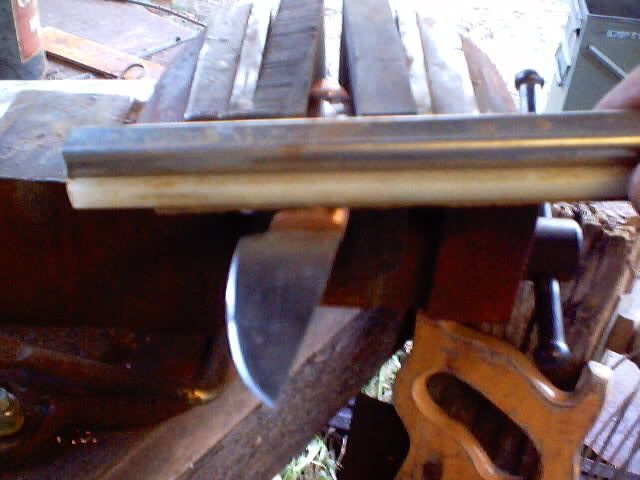
I Edge Quenched this piece (evident by the color stripe on the edge.) You dunk just the edge till it looses color, then dunk it the rest of the way till it stops bubbling.
Now we have to polish a spot so we can see the colors when we temper. Tempering makes the steel a little less hard, but a lot more tough.
This is a tool I use a lot for polishing. It's a section of polypropylene guiderail from work. I cut strips from a self adhesive disk to stick on it. This tool is great for removing the high spots.
Ready to temper!
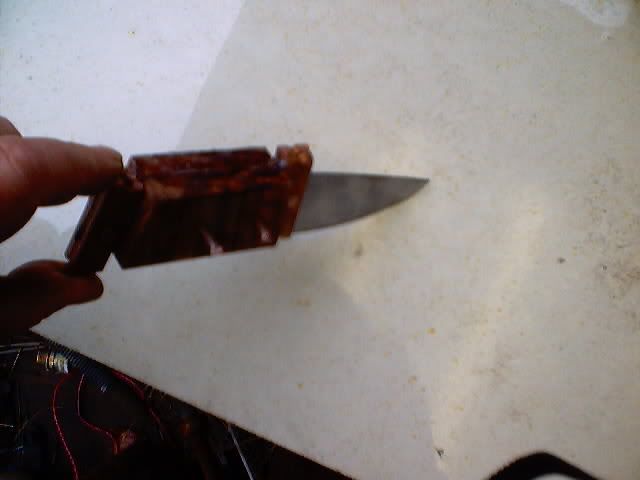
Heat the spine of the blade with the torch slowly, untill the colors appear. I went for a brown/purple on the spine, and a dark straw for the edge.
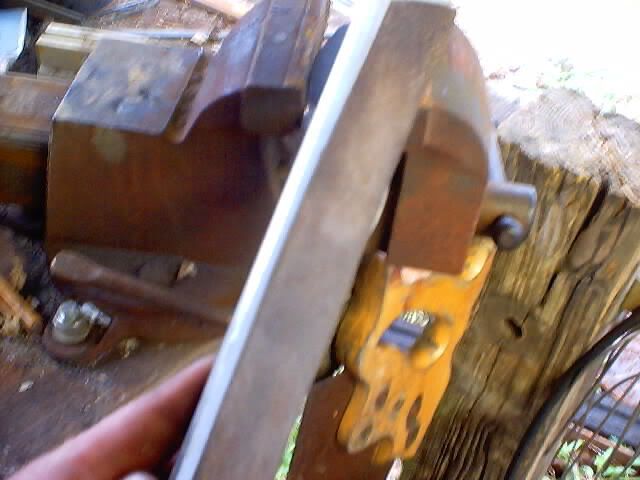
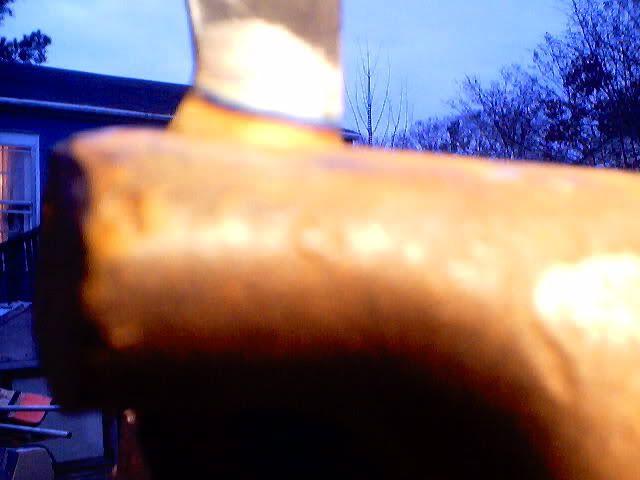
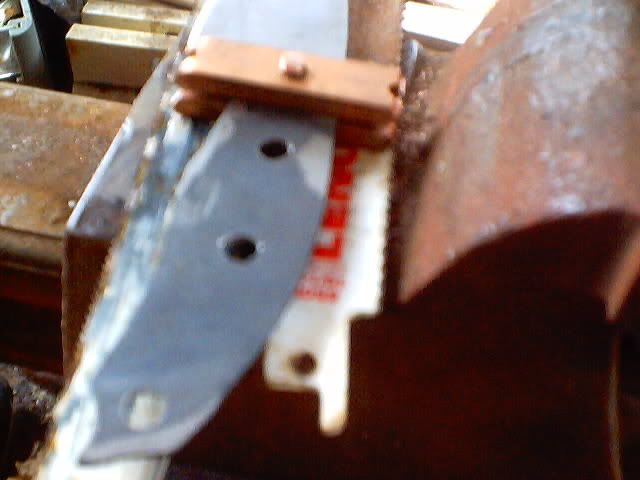
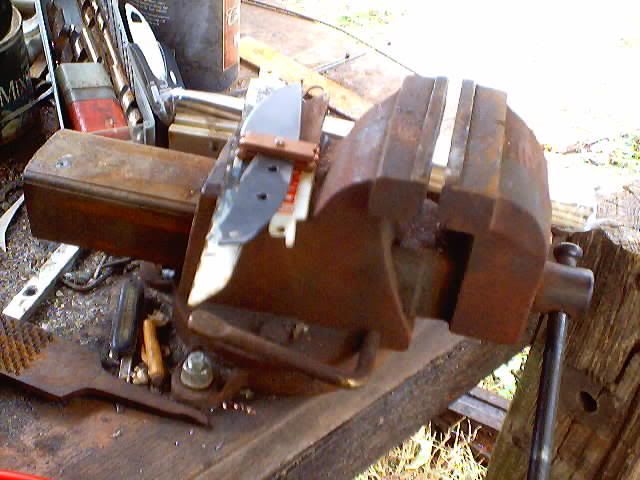
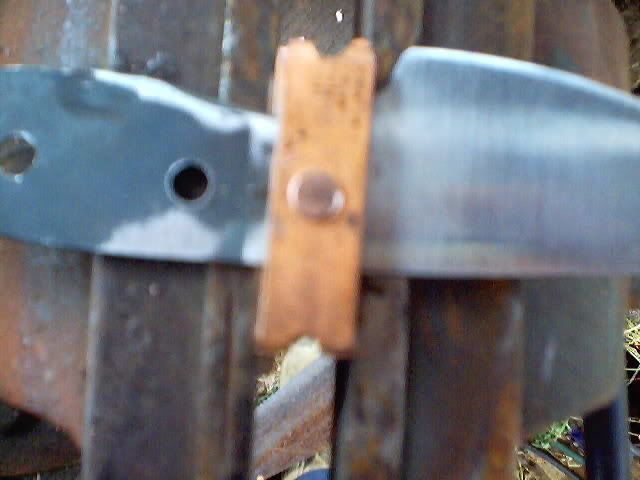
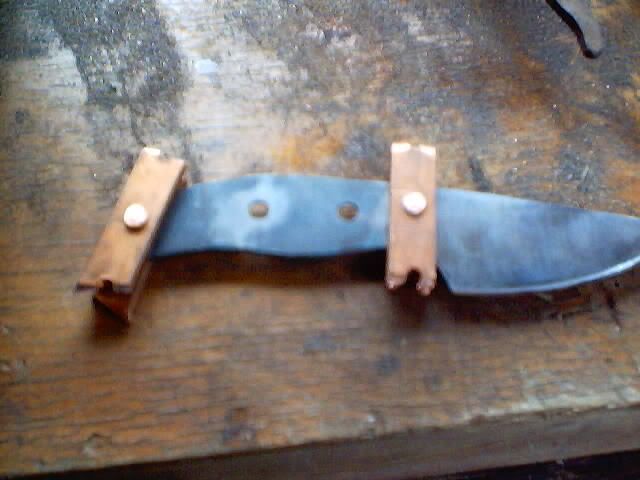
After it cools, turn it over (blade down) in the vise. The vise will act as a heat sink to help prevent the blade from overheating. Temper the tang to an even blue. Note the line where the soft temper stops.
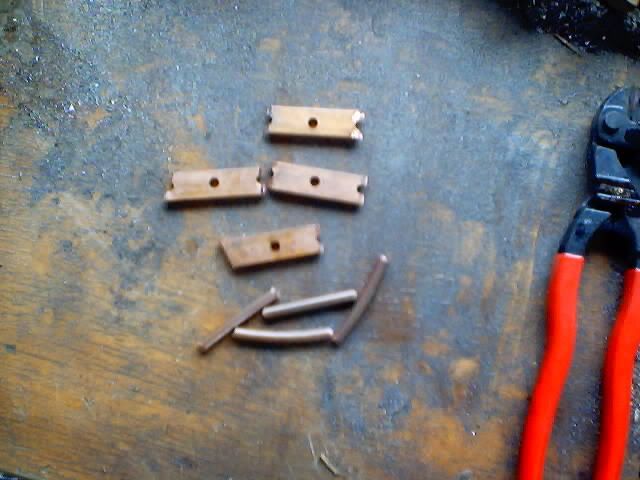
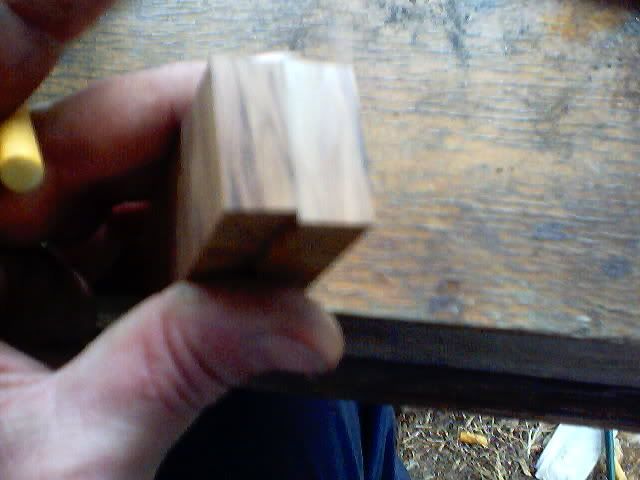
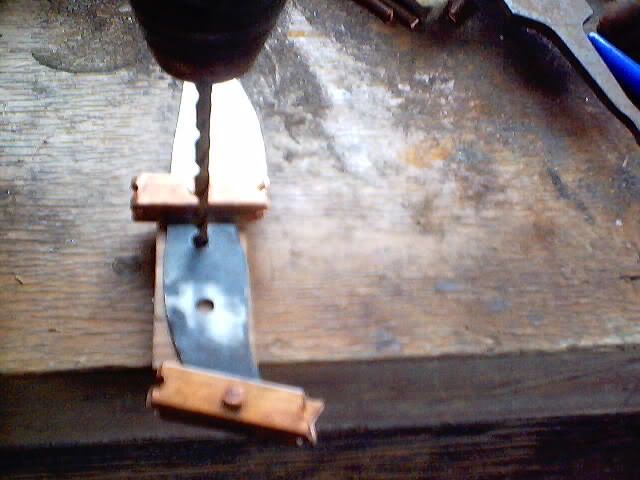
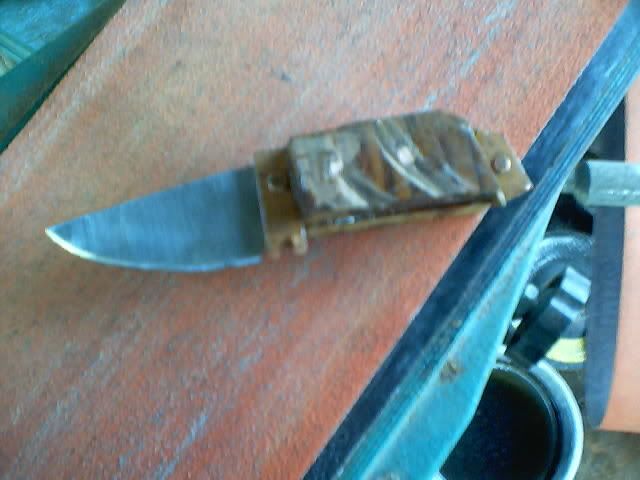
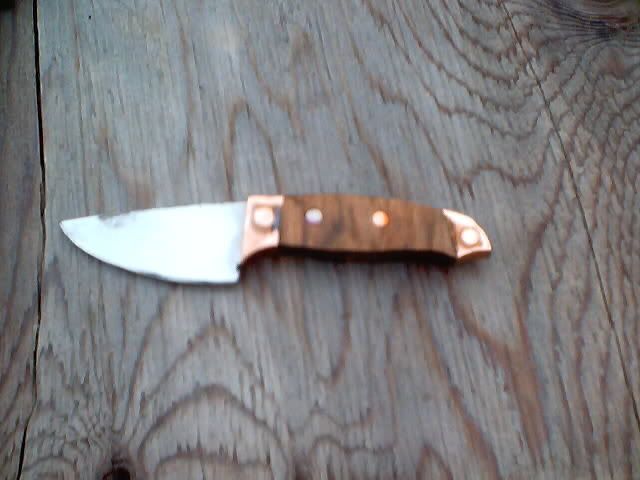
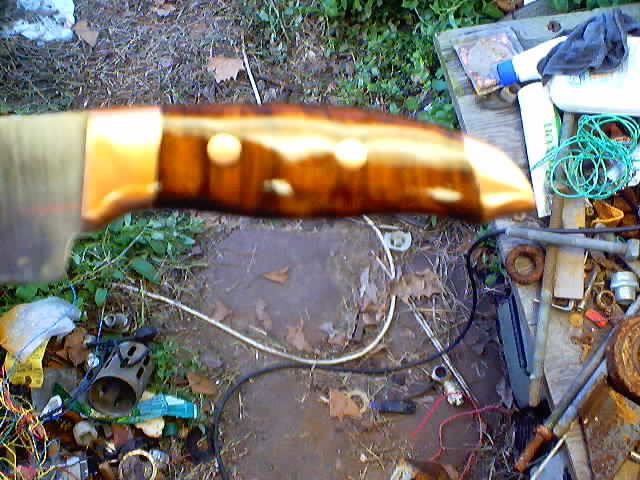
I drilled some holes in the tang for the bolsters and the pins, and here's where we sit tonight.
Heat one edge to red hot….
Dunk it quickly into water…
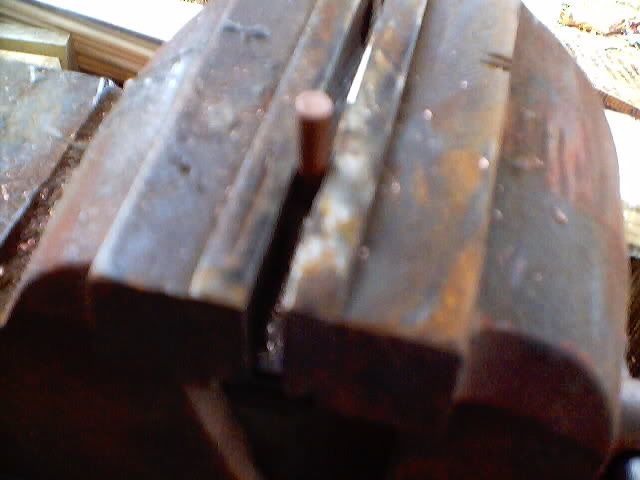
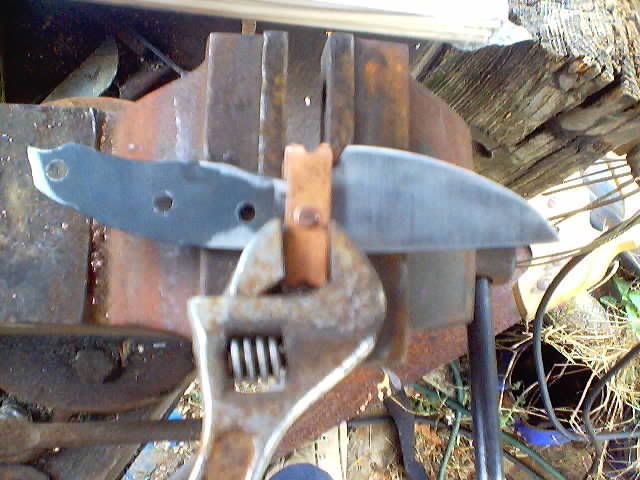
Lock it in the vice…
Make sure the tooth that’s showing is the one you heated and quenched…
Rap it with the hammer…
Ping!! A nice clean Break. This means that the steel is hardenable, so we can now start making a knife from it!
Back into the fire till it's red hot and then let cool
Draw out your design (there’s a limit to the size of knife you can get out of a 7 ¼ “ sawblade) Since I want it full tang, I’ll make a little kitchen utility design.
Now we get to the scary part. The angle Grinder is one of the most useful tools you can own, but it also houses the greatest potential for harm to oneself. On thin material like this, I like to score along the line (not cutting all the way through) then work it back and forth till it breaks. This helps minimize the chance of the cutting wheel sticking in the cut and avoids many painful (and sometimes embarrassing) incidents.
Here’s our rough cut blank after a little cleanup on the bench grinder
We'll finish it up tomorow!
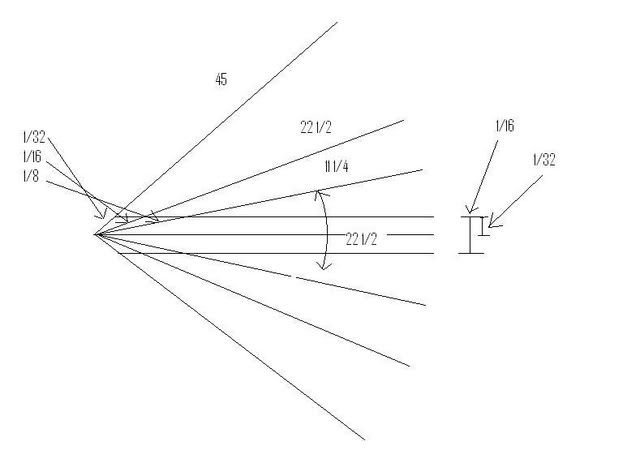
Before we continue, lets talk a little bit about edge geometry. Yup, that's right, MATH!
As you can see, a simple drawing can help you figure out how wide the bevel should be. I chose an angle of 22 1/2 to dive this little knife a durable edge. the bevel should be 1/8 in per side. this works with thicker blades as well, for setting up the primary bevels.
Now I'm going out to make my coffee can forge!
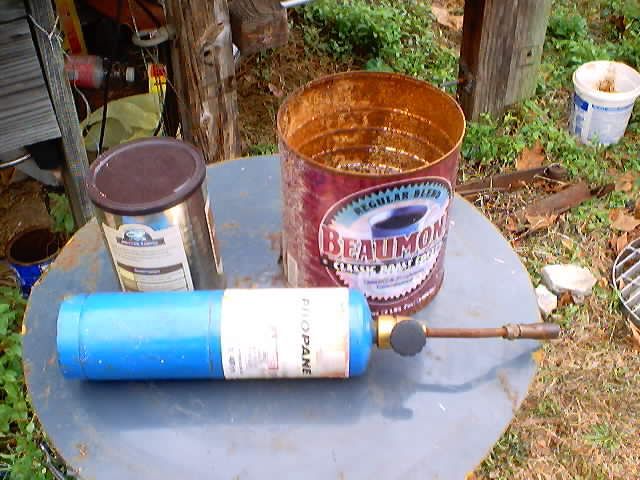
So here's what you need for a quick and dirty forge (BTW, playing with fire is dangerous, so don't come cryin to me if ya burn yer chicken nuggets)
We have a one lb coffee can, a 3 lb coffee can, a weller propane torch and....
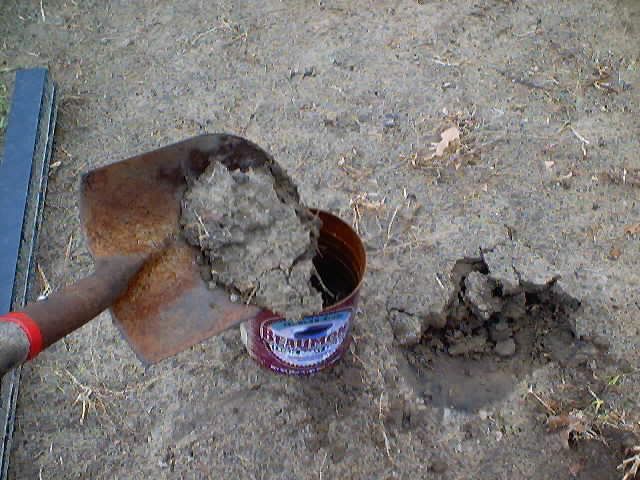
Dirt!
Ram the dirt tigtly around the outside of the indside can
Viola! Now we need a hole in the can for the torch head. I ut the hole angling toward the right and forward. this helps with a swirl action.
You can use a drill bit to make the hole if you want, I just drove a sharp piece of steel through, followed by my high priced custom made punch (grin)
Now insert the torch head in the hole
Note that I left the air holes for the torch head on the outside of the can
Insert a piece of burning paper, and turn on the gas
Now here's the trick. By itself, the propane torch does not have enough BTU's to heat the cubic inches inside our forge. So we add a handfull of charcoal.
Once the charcoal is burning well, turn off the torch, grab a piece of tubing for a blowpipe (1/4" pipe works well) remove the torch, and blow into the hole. If you put a 90 deg bend in your blowpipe, you can watch. You don't need to hyperventilate doing this, just breath in normally through your nose, and breath out through your mouth and the tube. There is an almost Zenlike satisfaction that settles over you when you do this.
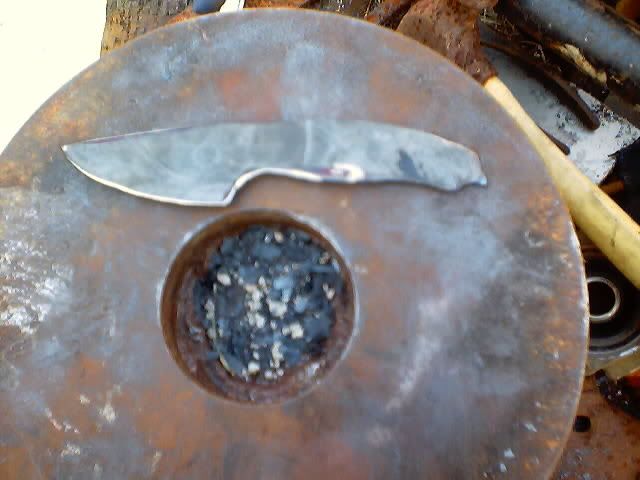
When it's a good even red, Quickly dunk it in the oil. There will be a momentary flash of fire, so don't panic.
I Edge Quenched this piece (evident by the color stripe on the edge.) You dunk just the edge till it looses color, then dunk it the rest of the way till it stops bubbling.
Now we have to polish a spot so we can see the colors when we temper. Tempering makes the steel a little less hard, but a lot more tough.
This is a tool I use a lot for polishing. It's a section of polypropylene guiderail from work. I cut strips from a self adhesive disk to stick on it. This tool is great for removing the high spots.
Ready to temper!
Heat the spine of the blade with the torch slowly, untill the colors appear. I went for a brown/purple on the spine, and a dark straw for the edge.
After it cools, turn it over (blade down) in the vise. The vise will act as a heat sink to help prevent the blade from overheating. Temper the tang to an even blue. Note the line where the soft temper stops.
I drilled some holes in the tang for the bolsters and the pins, and here's where we sit tonight.


 . JanT Hello to Whitedove and Kentuckybushcraft was looking for a more active discussion of hide tanning. Did have fun making my first avitar, Put my beach umbrellas in it. That was a new experience. Jan