
Post by phoenix1967 on Mar 5, 2009 19:54:28 GMT -5
So here you are, out mending fences at spousy's request, when the head falls off of your favorite made-in-the-country-which-will-not-be-named claw hammer. Since the local hardware store is still manned by the purple tentacled alien zombie, it's fire up the forge time, and you get to scroungin...
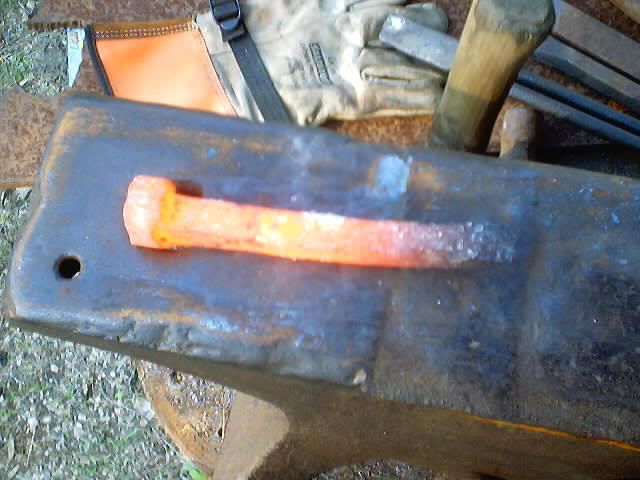
Hmmm, that RR spike kinda looks like a hammer...
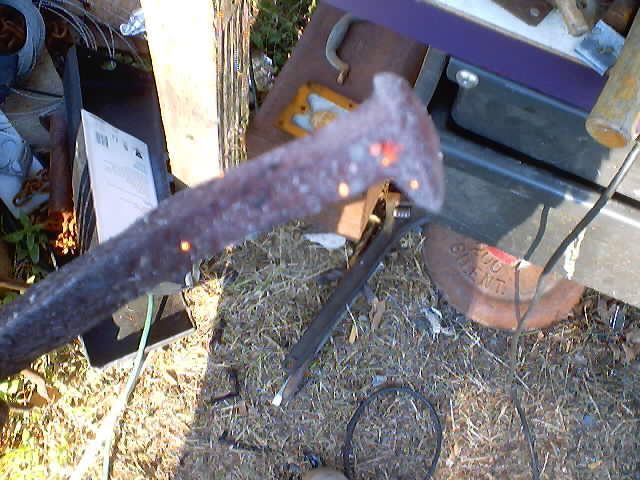
Lets heat that puppy up!
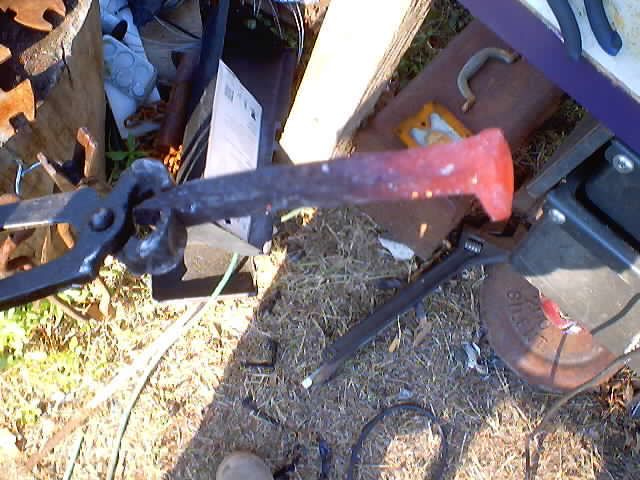
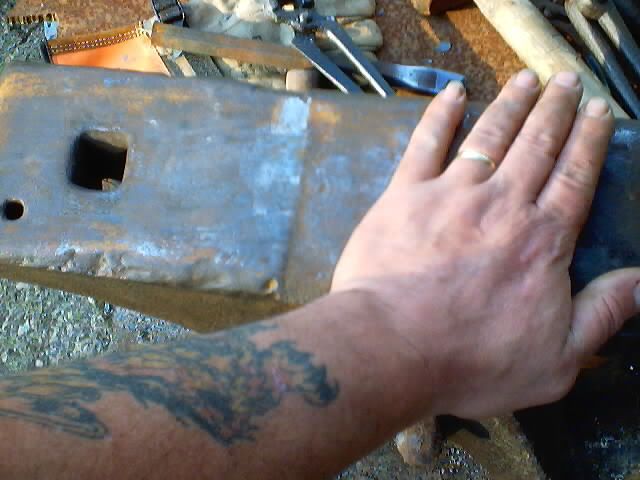
Now the HEAD has a lot of mass in it, it's just kind spread out, so we need to upset it back in to the main mass, taking care to round them sharp edges to avoid cold shuts.

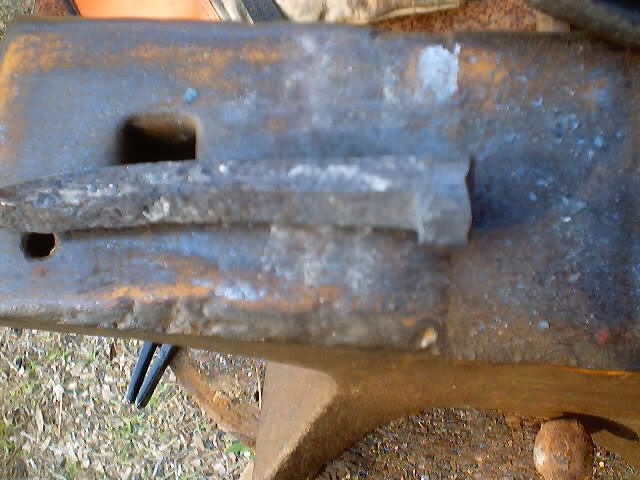
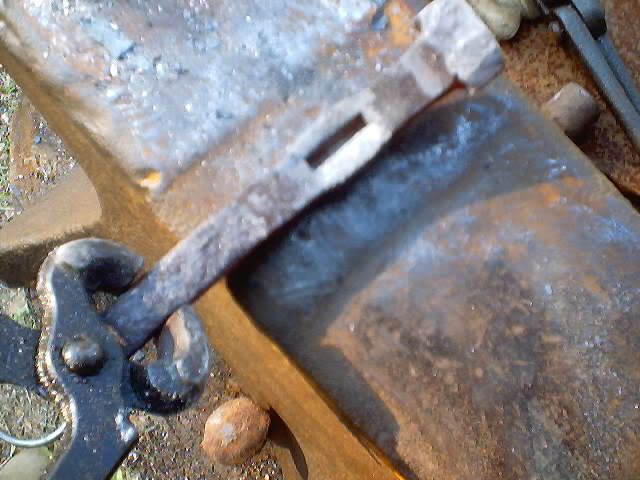
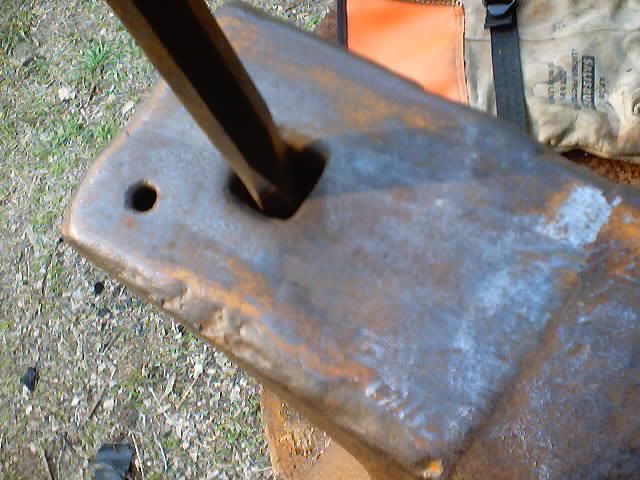
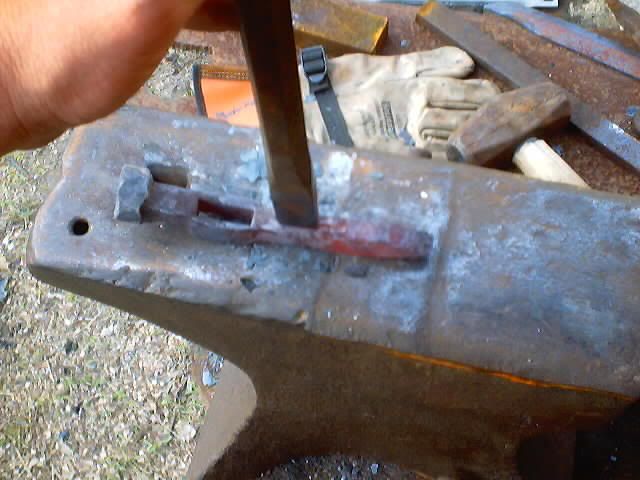
Now that we have a lump resembling a hammer head, it's time to make a hole for a handle. Heat it up well this time, it makes the slitting easier.
Beat the snot outta it, turning the chisel 180 degrees every 3 or 4 blows, in case the edge is off center. This helps keep the hole centered.
By now the spike is curling up on the ends, flip it over and straighten it out while you still have some heat.

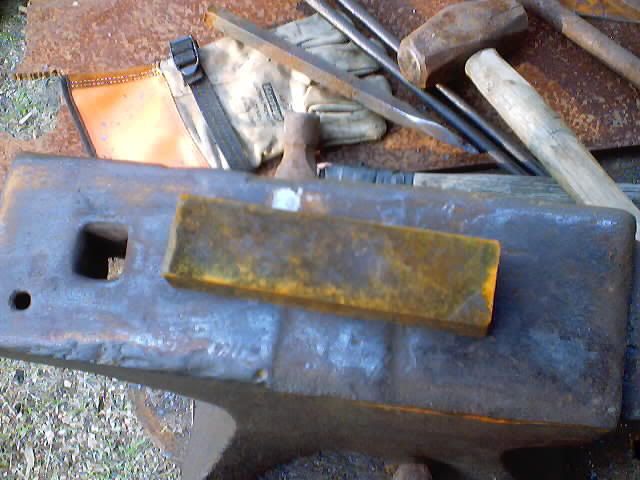
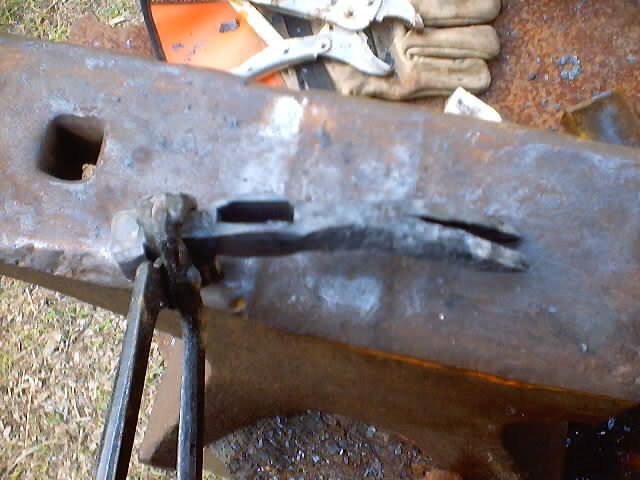
When you start getting close, grab your sacrifice block of mild steel to save the anvil face.
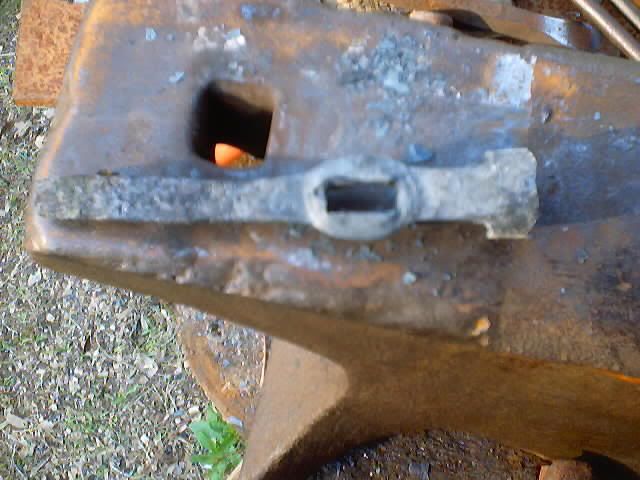
Once you are through, you can use an old blacksmith trick... turn the chisel and piece diagonal over the hardie hole so you can punch right on through
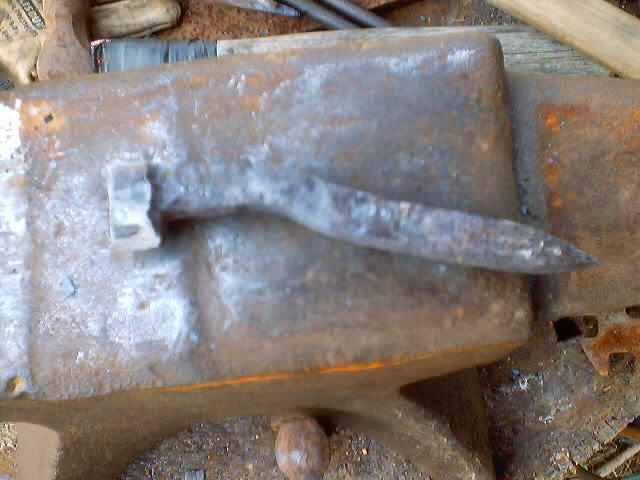
Now we grab our high dollar drift (rounded 3/8 x 1 inch flat stock)
and drift the hole to hammer handle size. Do this with a good heat, over the hardie hole. after you get the drift through, draw down the ears to help with stability.
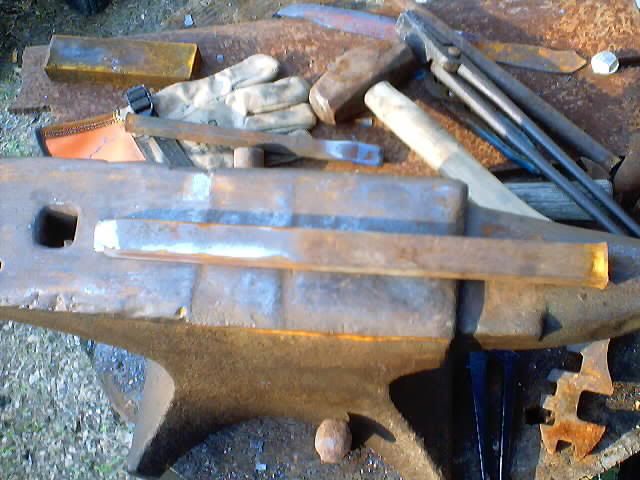
Now all through this we are wiping off our anvil between heats, to keep from hammering scale into the metal
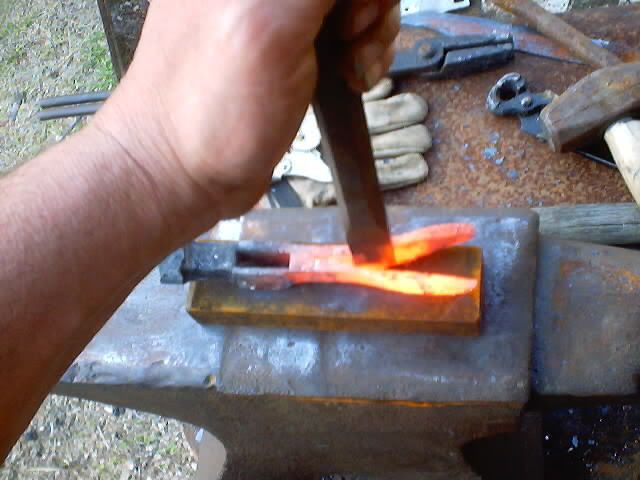
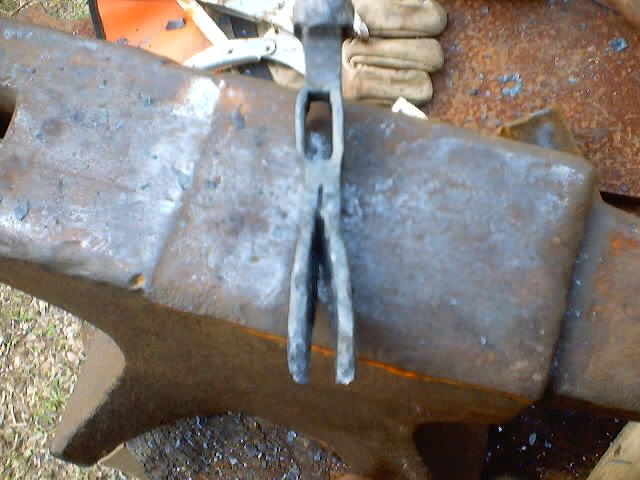
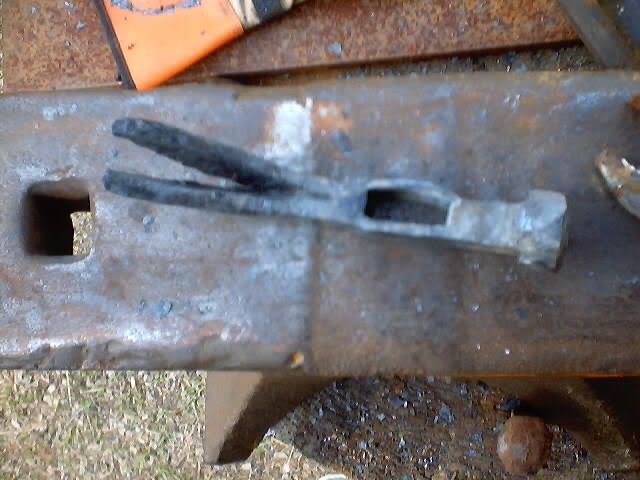
Ok, we got the hammer part, now we need the claw!
start with a bright orange heat, and start slitting down the middle. BOTTOM side only!
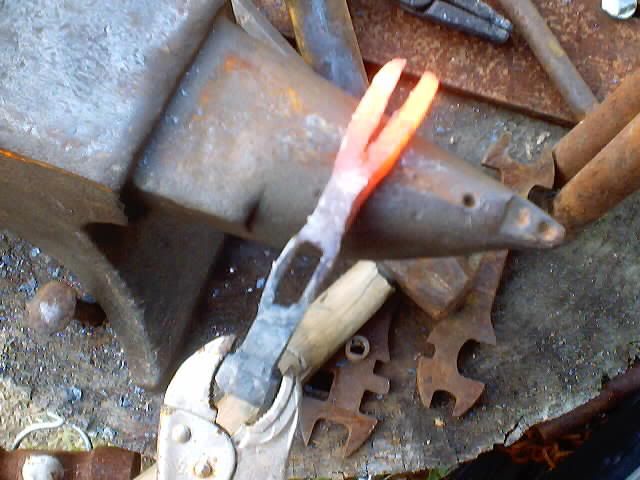
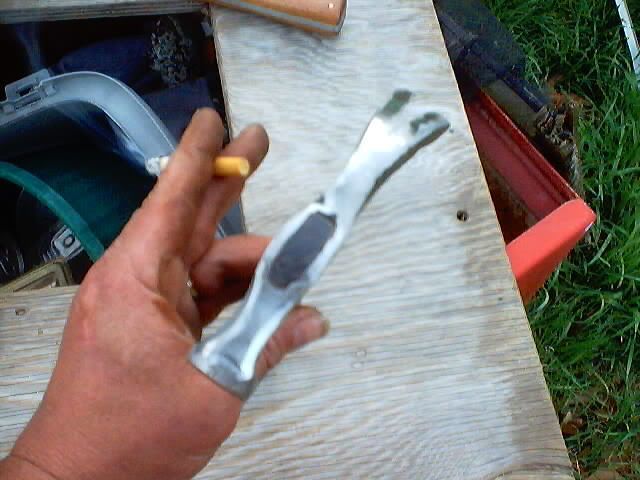
Now take a good heat, and bend the claw over the horn
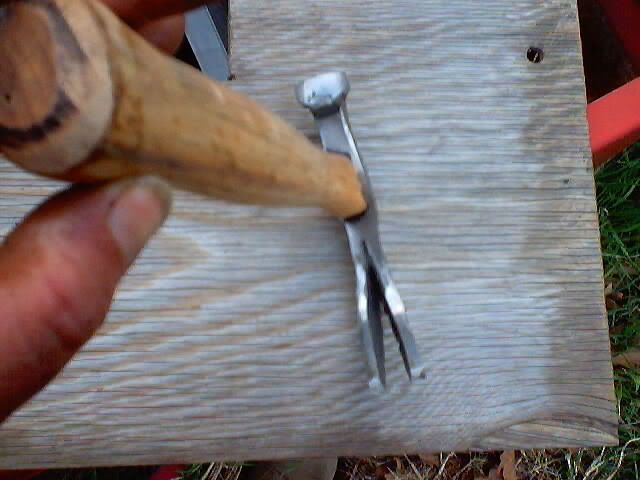
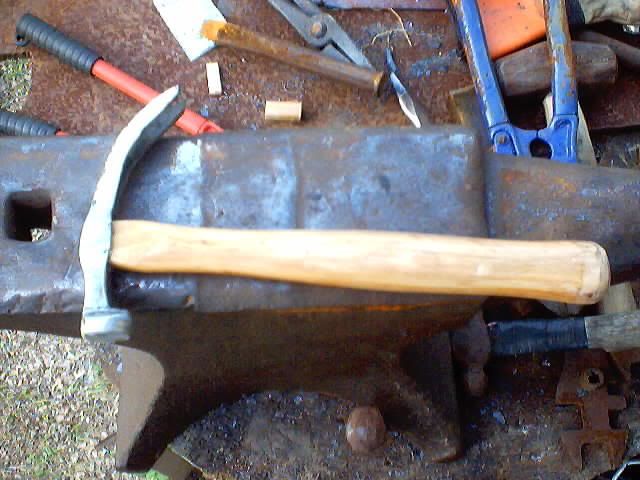
Clean it up with your 40 grit flap wheel, add a handle that you picked up before the aliens landed, and Viola! One brand spankin new Claw hammer, Made in AMERICA Baby!

Hmmm, that RR spike kinda looks like a hammer...
Lets heat that puppy up!
Now the HEAD has a lot of mass in it, it's just kind spread out, so we need to upset it back in to the main mass, taking care to round them sharp edges to avoid cold shuts.
Now that we have a lump resembling a hammer head, it's time to make a hole for a handle. Heat it up well this time, it makes the slitting easier.
Beat the snot outta it, turning the chisel 180 degrees every 3 or 4 blows, in case the edge is off center. This helps keep the hole centered.
By now the spike is curling up on the ends, flip it over and straighten it out while you still have some heat.
When you start getting close, grab your sacrifice block of mild steel to save the anvil face.
Once you are through, you can use an old blacksmith trick... turn the chisel and piece diagonal over the hardie hole so you can punch right on through
Now we grab our high dollar drift (rounded 3/8 x 1 inch flat stock)
and drift the hole to hammer handle size. Do this with a good heat, over the hardie hole. after you get the drift through, draw down the ears to help with stability.
Now all through this we are wiping off our anvil between heats, to keep from hammering scale into the metal
Ok, we got the hammer part, now we need the claw!
start with a bright orange heat, and start slitting down the middle. BOTTOM side only!
Now take a good heat, and bend the claw over the horn
Clean it up with your 40 grit flap wheel, add a handle that you picked up before the aliens landed, and Viola! One brand spankin new Claw hammer, Made in AMERICA Baby!

 . JanT Hello to Whitedove and Kentuckybushcraft was looking for a more active discussion of hide tanning. Did have fun making my first avitar, Put my beach umbrellas in it. That was a new experience. Jan