
Post by phoenix1967 on Jan 30, 2009 11:53:07 GMT -5
Let me start by saying, this is the way I do it. There are many other styles and methods, but this one is mine.
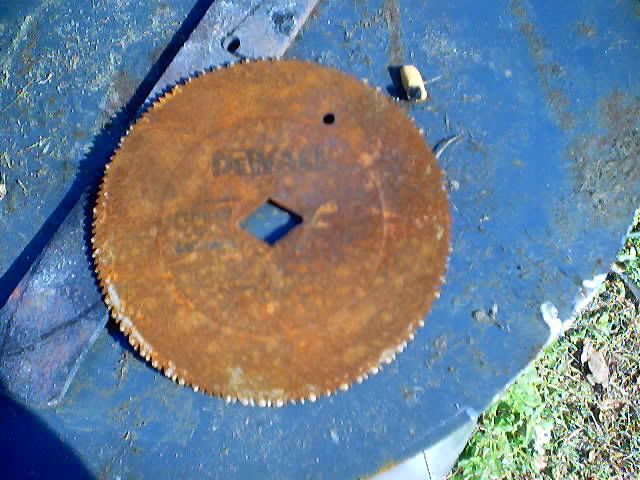
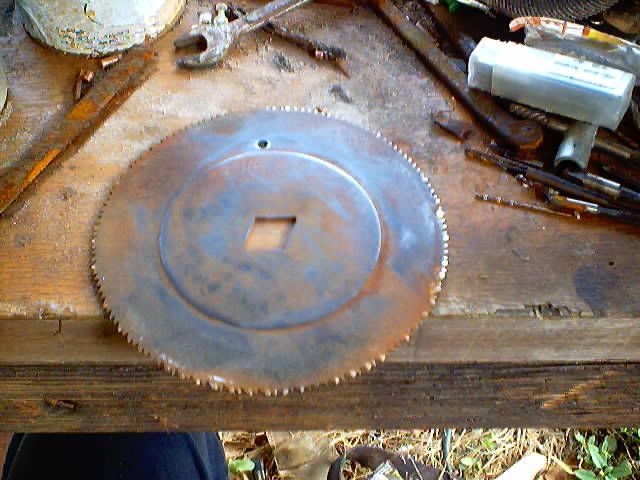
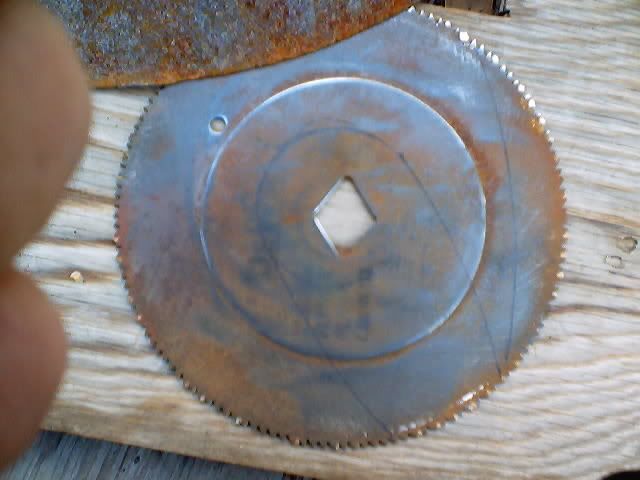
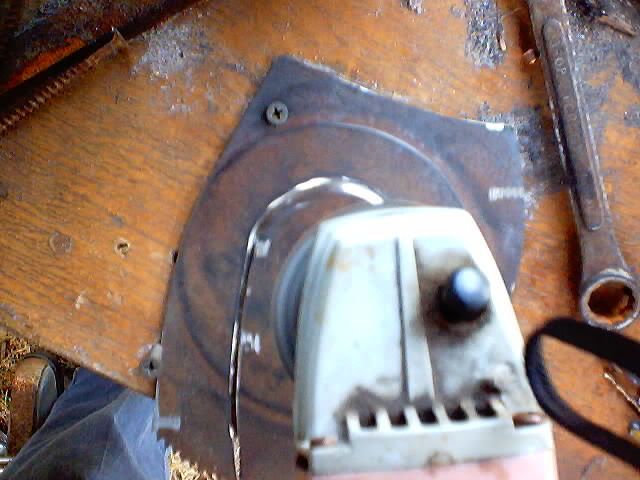
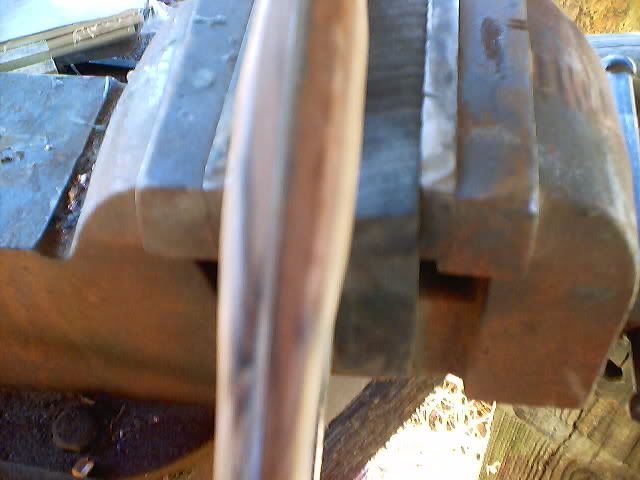
I chose this old dewalt thin kerf model, 'cause I already know it will harden. The edge is 1/16ths and the center is 3/32nds.
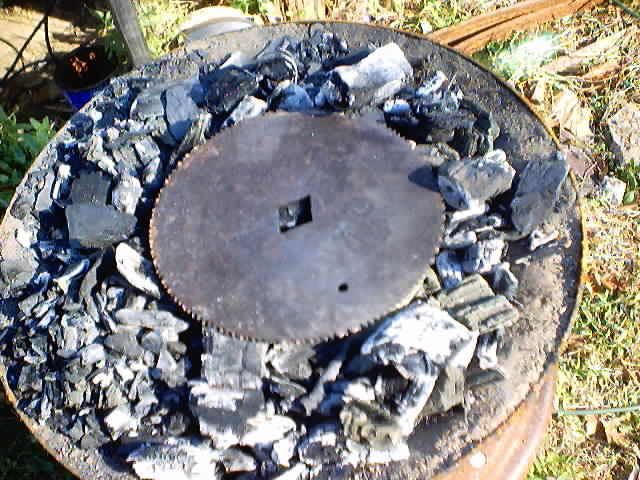
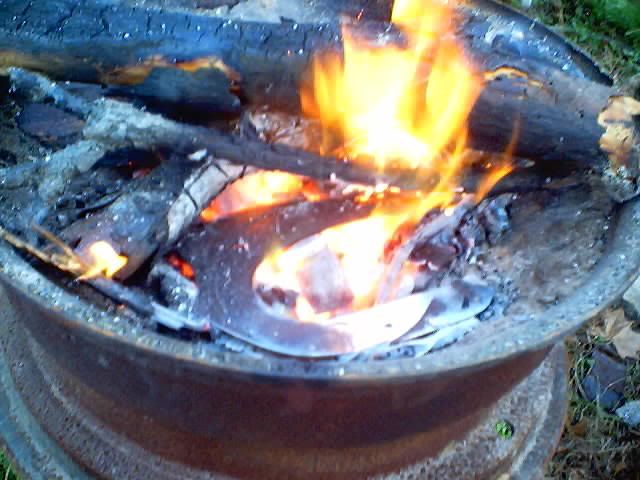
First we anneal it. Heat it up to red, I left it in the forge to cool overnight.
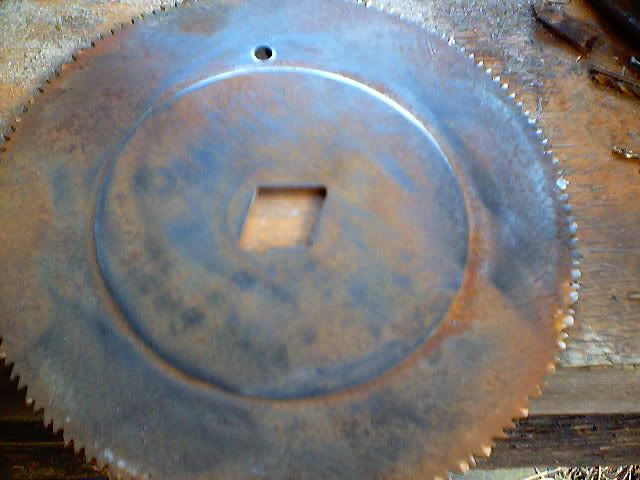
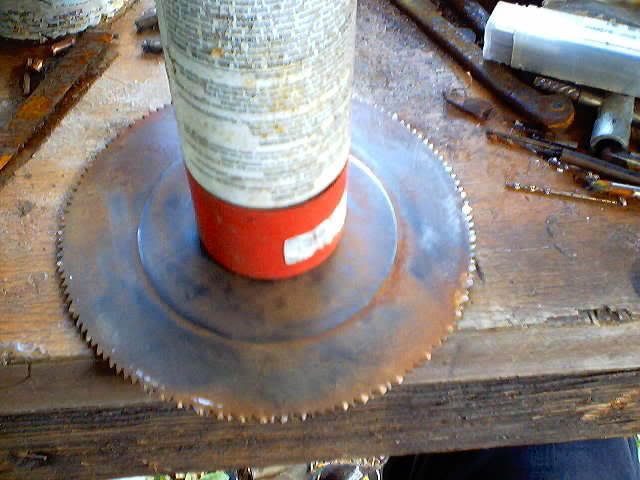
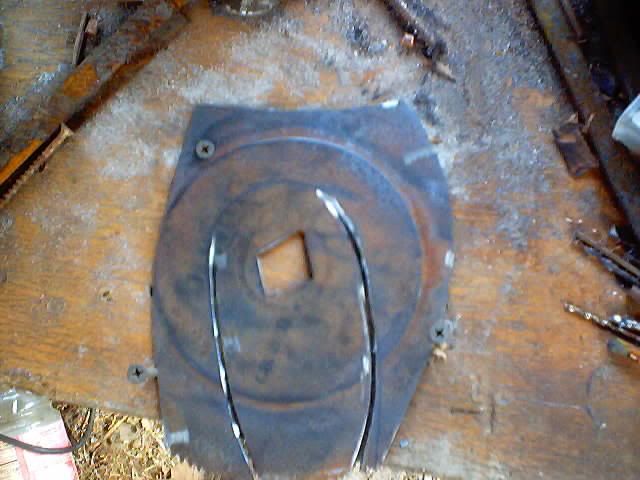
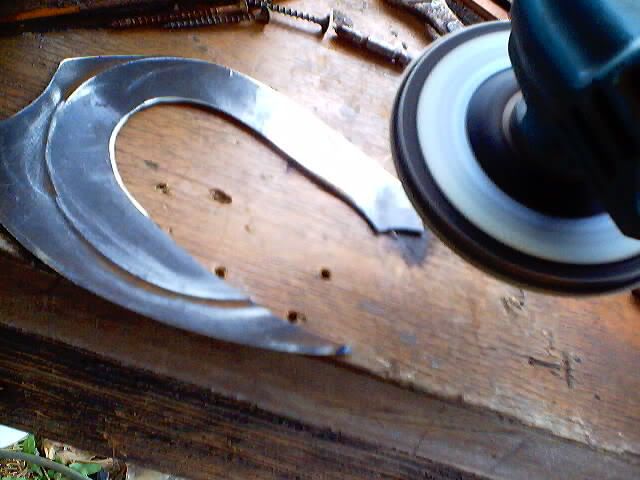
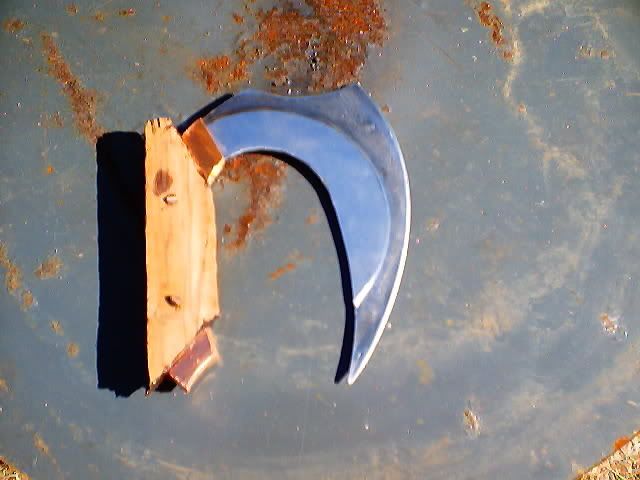
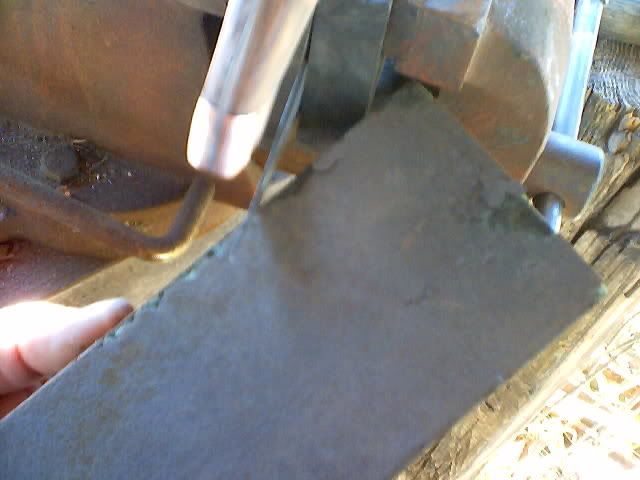
Next we draw out our blade. I used several different sized circular objects to get the curves I wanted.
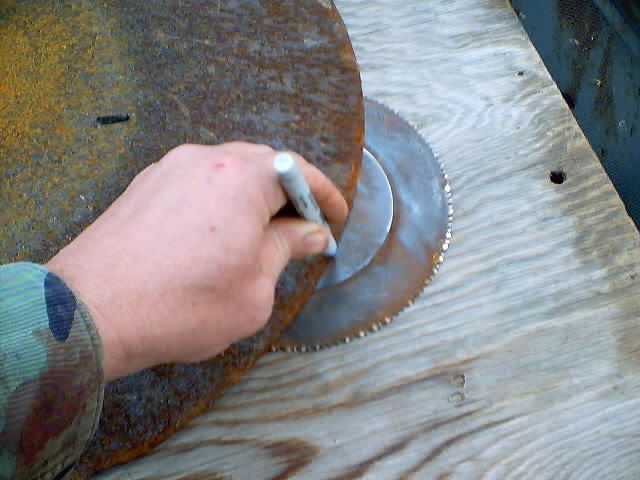

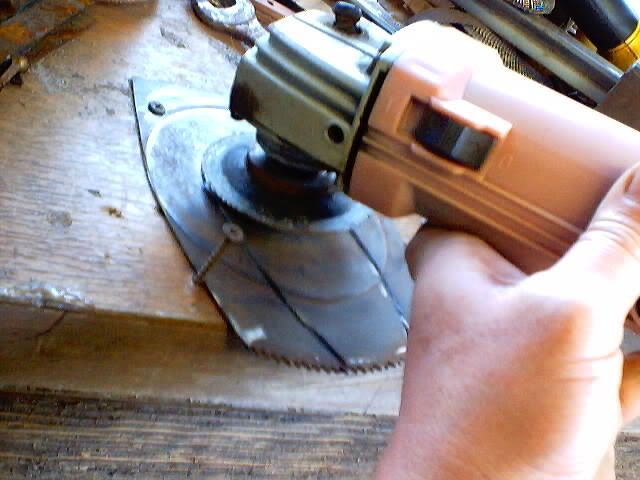
Now the scary part. Remember that you are only trying to score most of the way through. This helps keep the abrasive blade from catching and bad things going to worse.
![]()
i194.photobucket.com/albums/z249/Blinkies_by_Lori/Phoenix%20Knives/Ulu010.jpg[/IMG]
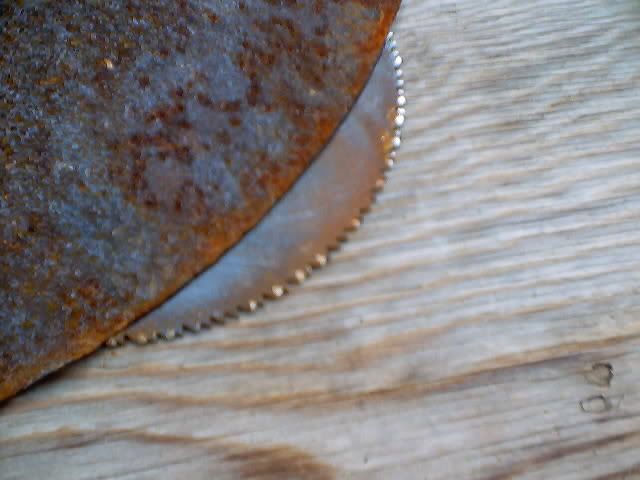
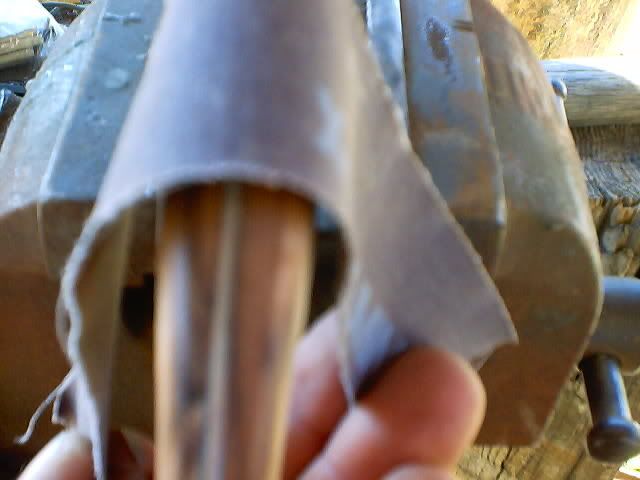
Be sure to clean up the edges as you go along, to avoid massive lacerations in your immediate future!
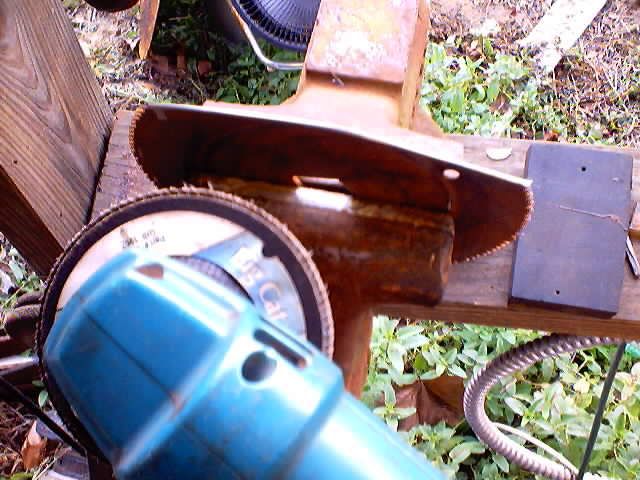
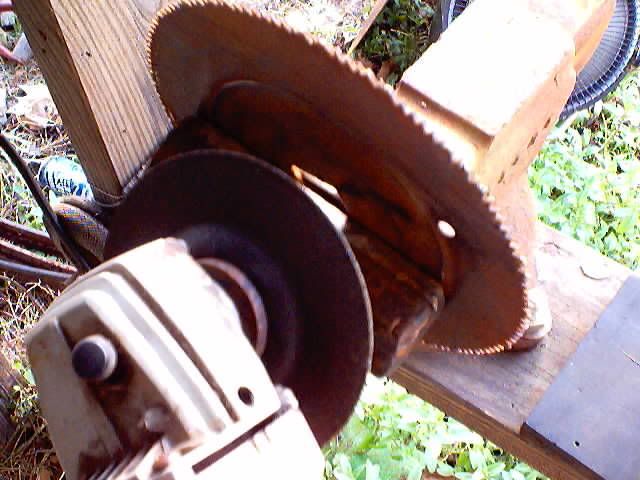
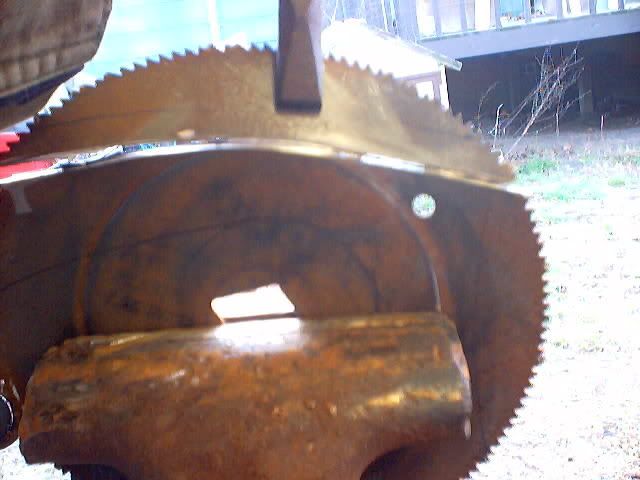
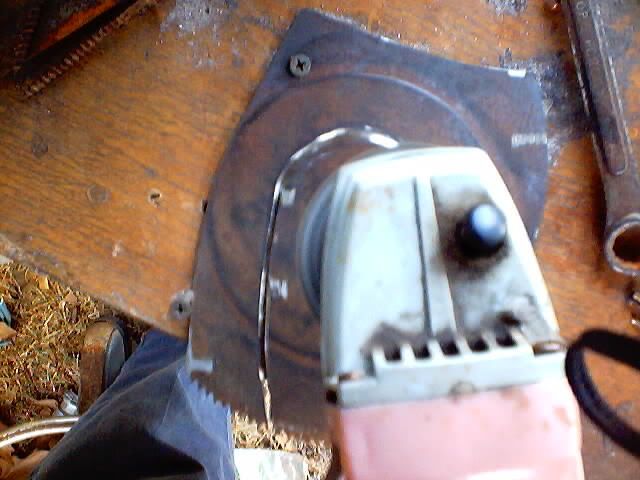
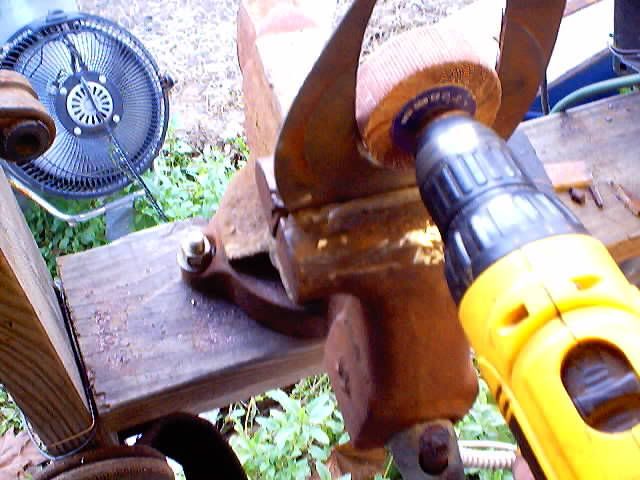
Note in the next pics how I screwed the blade to the table. No way I want this thing slinging at me at 200 miles an hour!
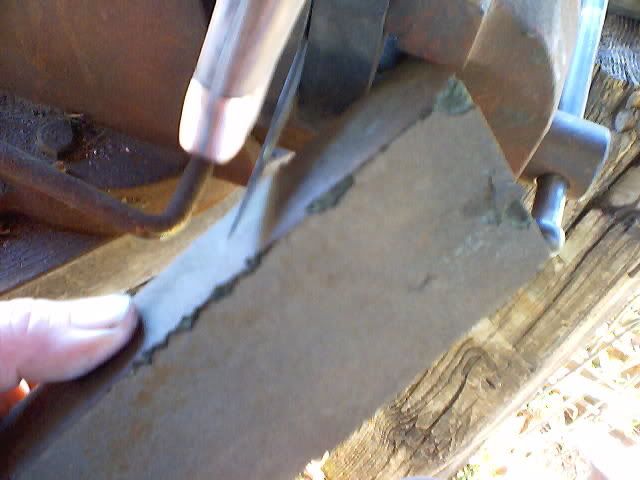
Keep those worn to nubbins cutting discs, they work great for cutting those close circles.
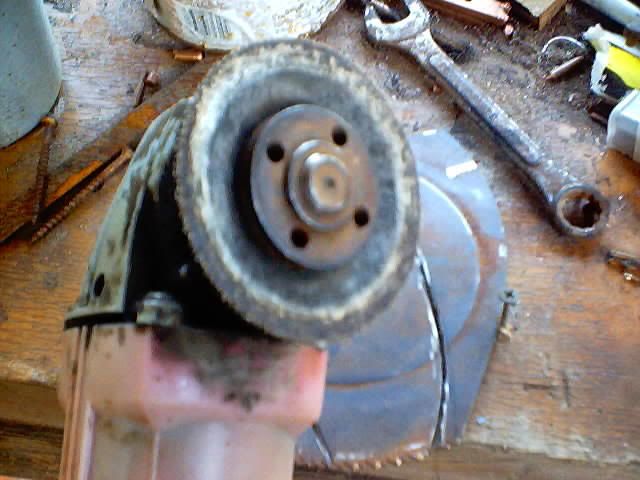
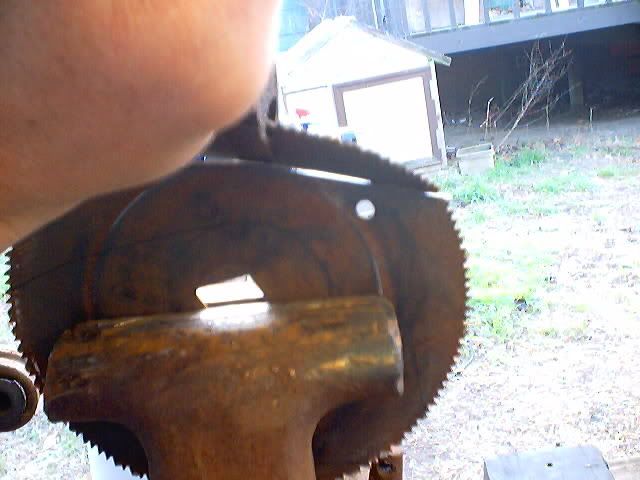
Instead of Cutting, grind away the inside (grinder at 45 degrees) using the edge of the wheel as the circle

Break out the center

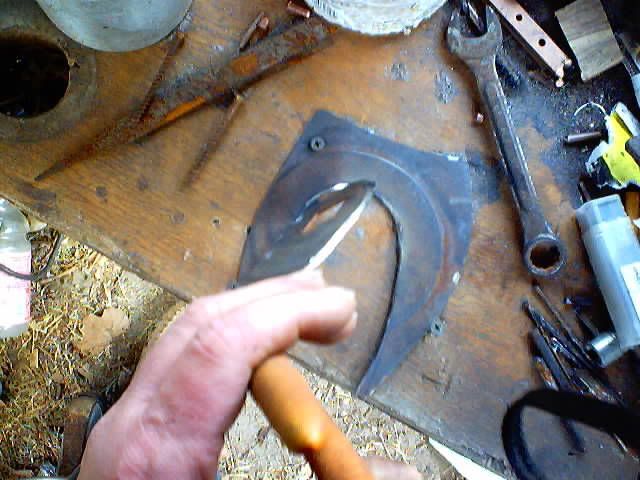
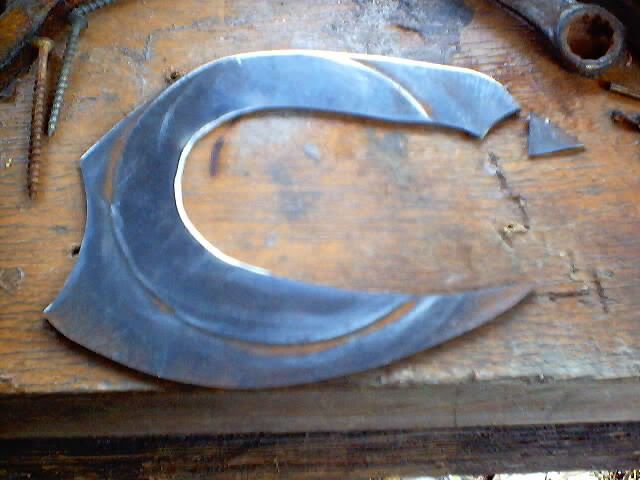
Clean up the cut
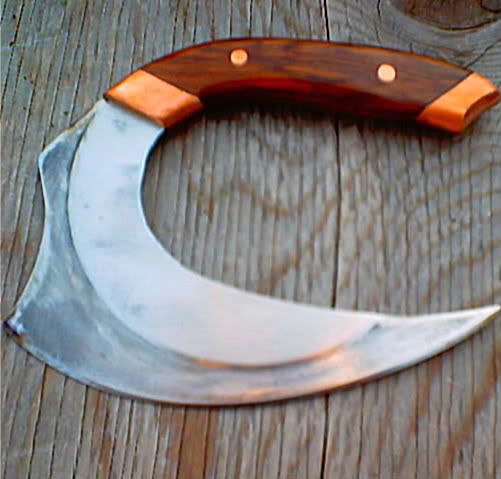
Now clean up your profile. I went with this style, 'cause the wife likes the sawblade knife, and now wants a "Matching set" of knives. They'll all get the copper and Brazilian rosewood treatment.
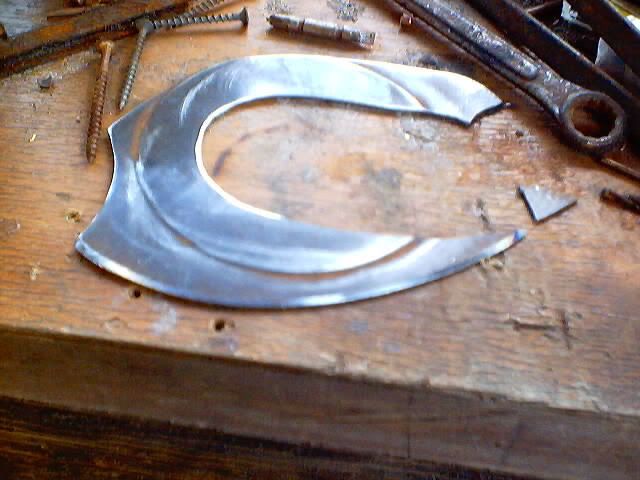
Because this blade steps down, we need to ease that transition in the handle area.
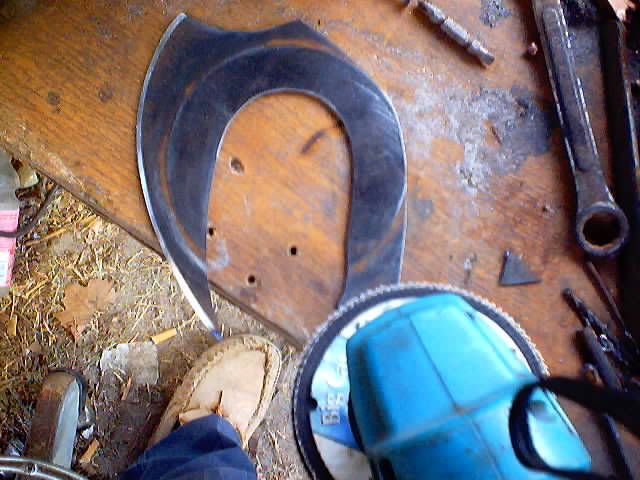

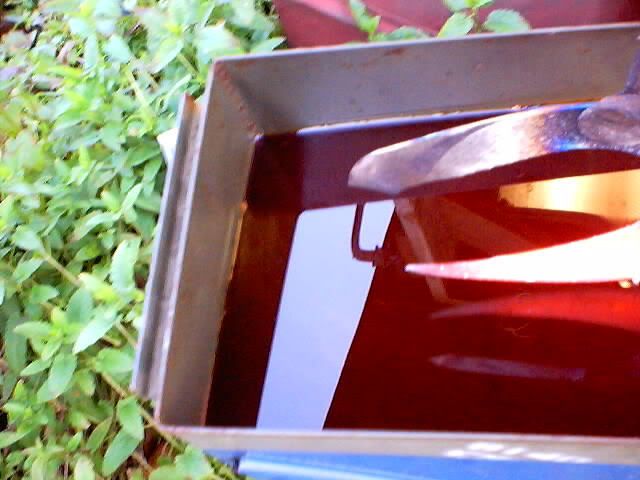
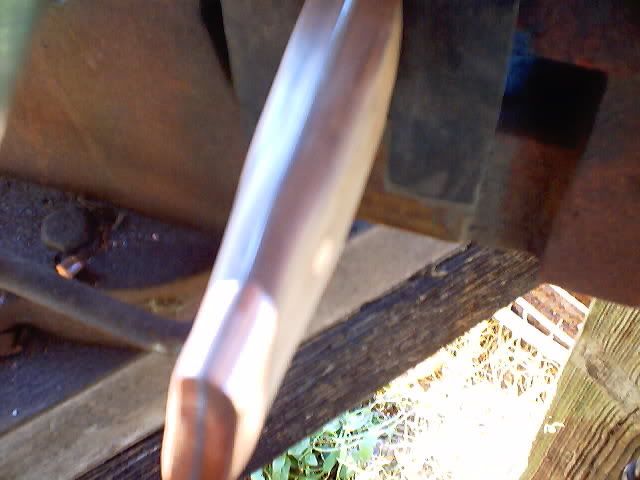
Great! now it's time to harden the steel. I'm going with an edge quench.
Heat to critical:
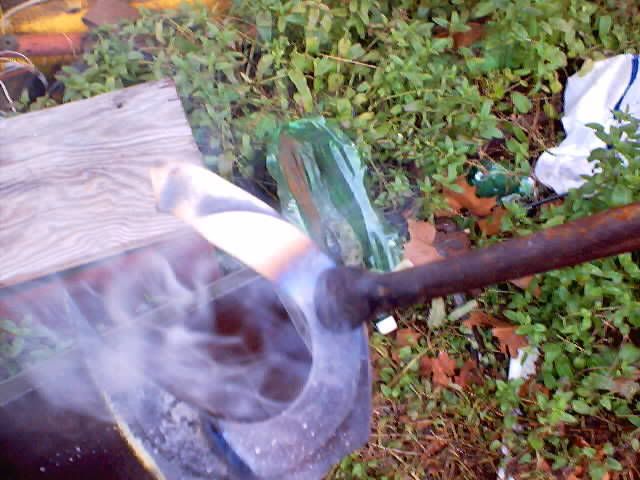
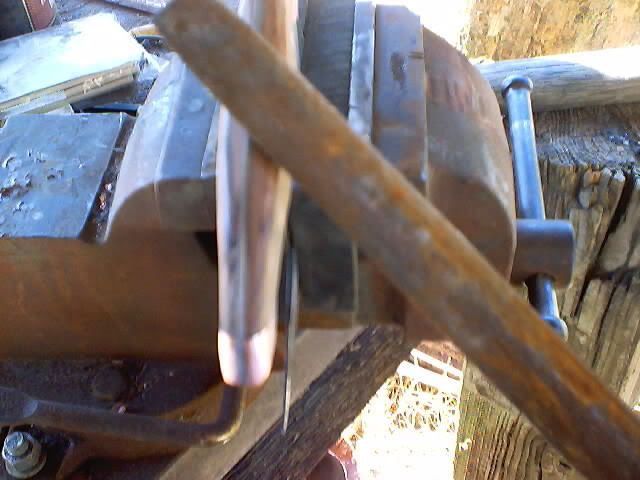
Dip Just the edge in the oil. I'm using tranny fluid.

That's all for today, We'll temper and Handle it tomorrow!
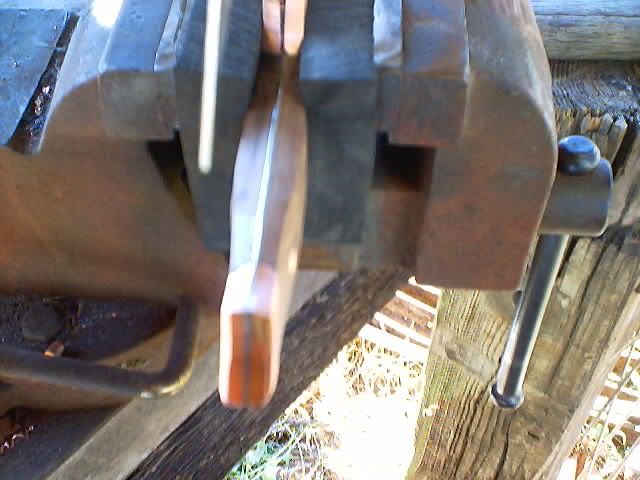
Today we start with the slabs pinned and epoxied in place
File, sand, and cut till you get the rough shape you want
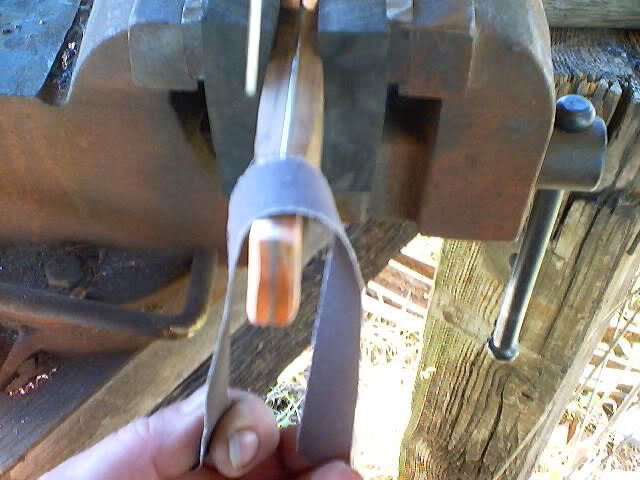
Use strips of emory cloth tho smooth your curves. Remember that the wood will disappear much faster than metal, so do the metal parts first, and work the wood down to it. keep in mind that the point is directly below you!
You may need to use a half round file to contour the metal bolsters to shape
I like to use a points file to deburr the tops if the bolsters.
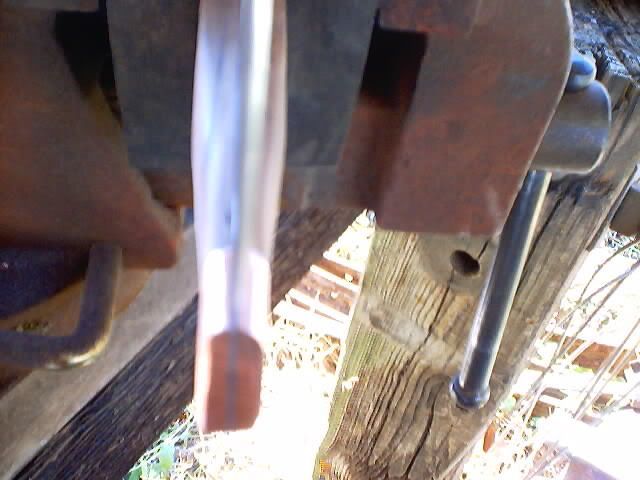
Flip the handle over, and now look at the back, and the angles. Take the tops off the angles, and smooth the transitions.

These foam sanding blocks are wonderful
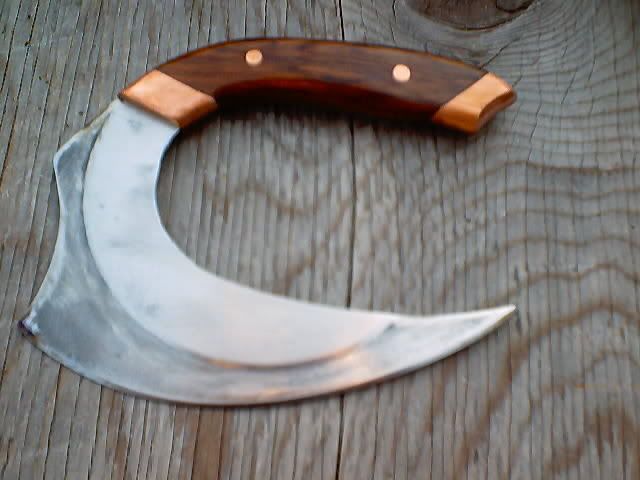
Now a nice coat of poly
And we're DONE!

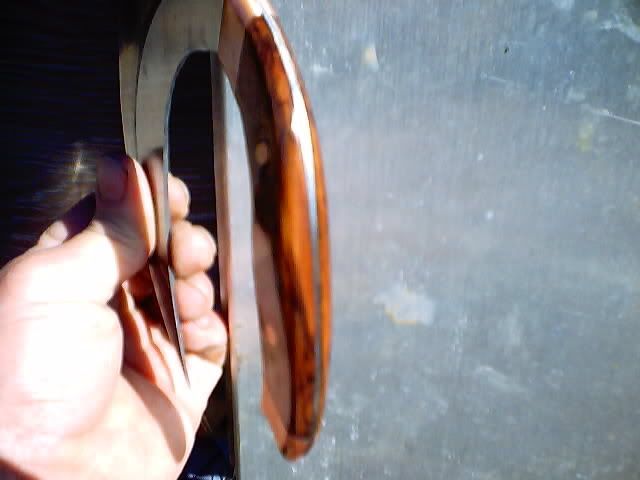
a close up of the handle

I chose this old dewalt thin kerf model, 'cause I already know it will harden. The edge is 1/16ths and the center is 3/32nds.
First we anneal it. Heat it up to red, I left it in the forge to cool overnight.
Next we draw out our blade. I used several different sized circular objects to get the curves I wanted.
Now the scary part. Remember that you are only trying to score most of the way through. This helps keep the abrasive blade from catching and bad things going to worse.
i194.photobucket.com/albums/z249/Blinkies_by_Lori/Phoenix%20Knives/Ulu010.jpg[/IMG]
Be sure to clean up the edges as you go along, to avoid massive lacerations in your immediate future!
Note in the next pics how I screwed the blade to the table. No way I want this thing slinging at me at 200 miles an hour!
Keep those worn to nubbins cutting discs, they work great for cutting those close circles.
Instead of Cutting, grind away the inside (grinder at 45 degrees) using the edge of the wheel as the circle
Break out the center
Clean up the cut
Now clean up your profile. I went with this style, 'cause the wife likes the sawblade knife, and now wants a "Matching set" of knives. They'll all get the copper and Brazilian rosewood treatment.
Because this blade steps down, we need to ease that transition in the handle area.
Great! now it's time to harden the steel. I'm going with an edge quench.
Heat to critical:
Dip Just the edge in the oil. I'm using tranny fluid.
That's all for today, We'll temper and Handle it tomorrow!
Today we start with the slabs pinned and epoxied in place
File, sand, and cut till you get the rough shape you want
Use strips of emory cloth tho smooth your curves. Remember that the wood will disappear much faster than metal, so do the metal parts first, and work the wood down to it. keep in mind that the point is directly below you!
You may need to use a half round file to contour the metal bolsters to shape
I like to use a points file to deburr the tops if the bolsters.
Flip the handle over, and now look at the back, and the angles. Take the tops off the angles, and smooth the transitions.
These foam sanding blocks are wonderful
Now a nice coat of poly
And we're DONE!
a close up of the handle


 . JanT Hello to Whitedove and Kentuckybushcraft was looking for a more active discussion of hide tanning. Did have fun making my first avitar, Put my beach umbrellas in it. That was a new experience. Jan