
Post by phoenix1967 on Apr 22, 2009 20:07:57 GMT -5
Those with a drill press (even a cheap HF benchtop model like me) can do some basic machining with it if you add a cross slide. As a lot of us prefer to build our tools rather than buy them, I'm gonna show you how to buld a fairly precise cross slide contraption to turn your drillpress into a mill.
Here's what we need to start
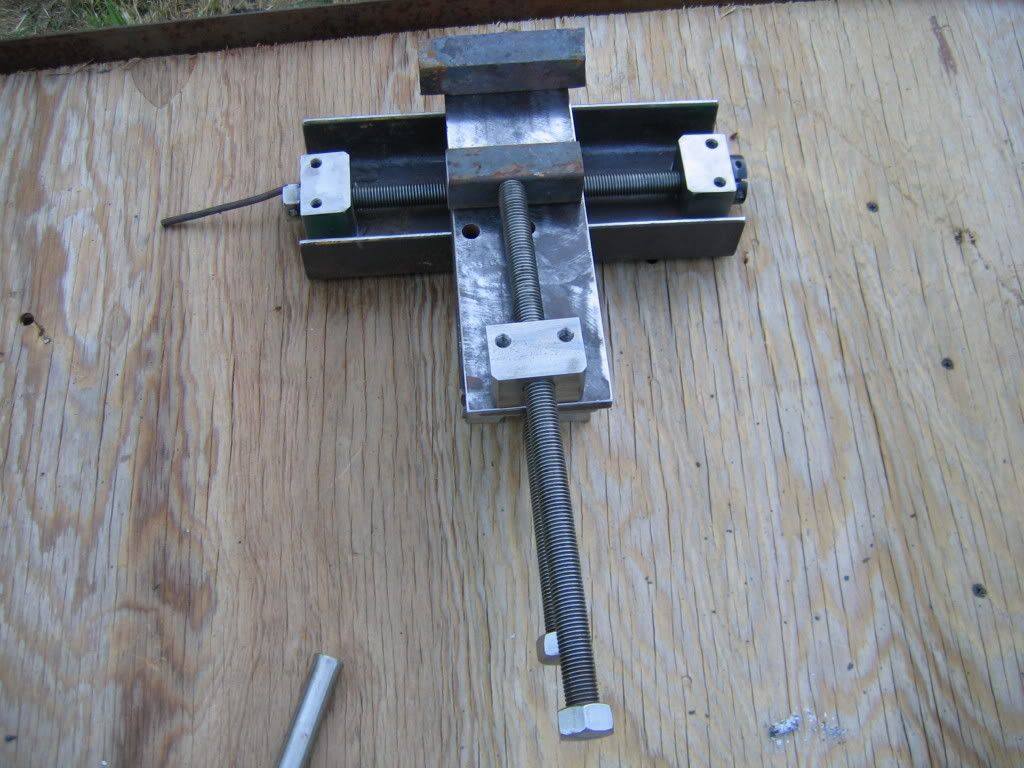
A piece of 4x2 "C" channel
3 blocks of steel the same size... 2 drilled with a 5/8 hole, one drilled and threaded for 5/8 threaded rod
and 1 piece of threaded rod (5/8) woth a nut attached to one end.
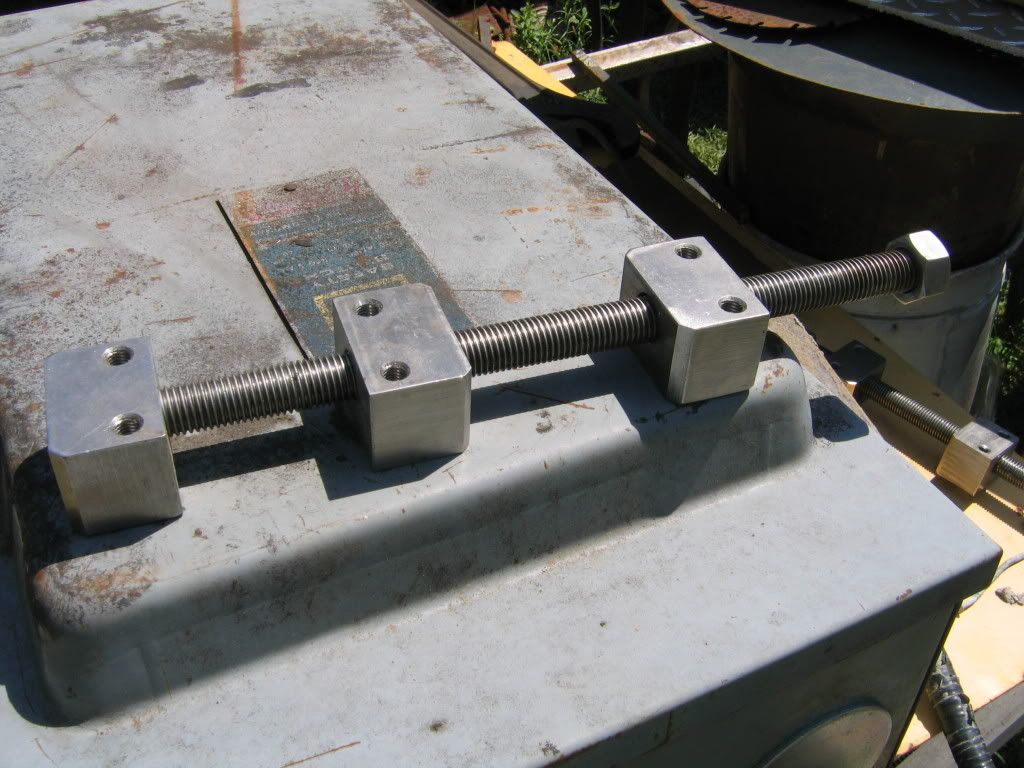
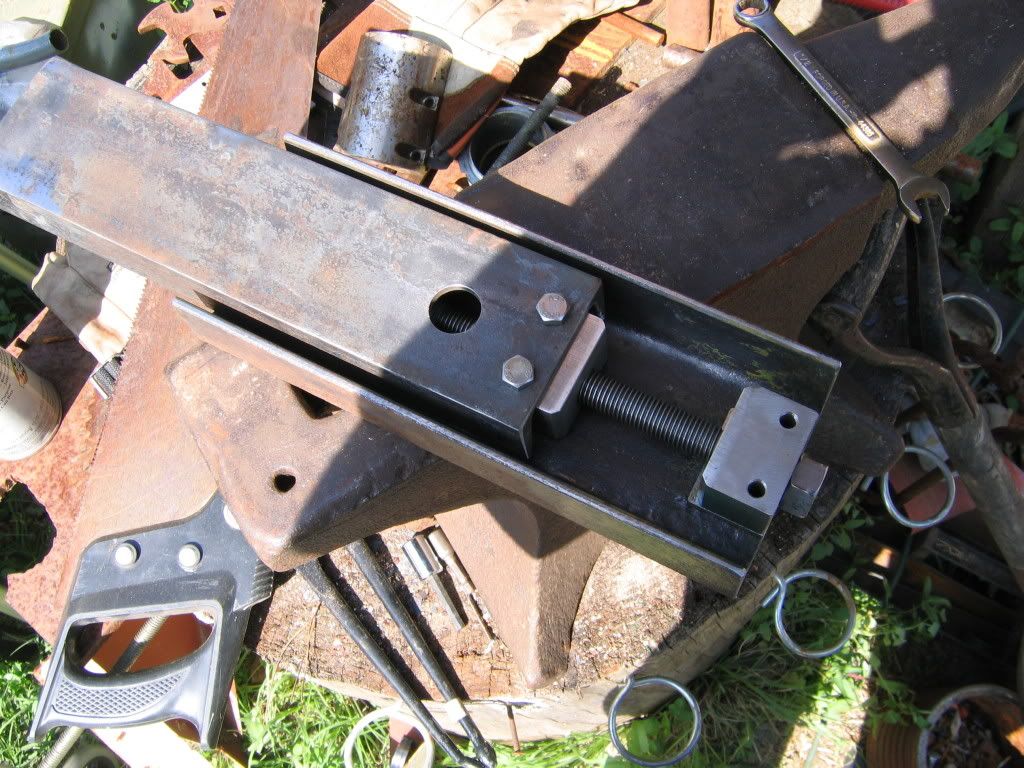
Now assemble the three blocks and rod, with the threaded block in the middle. The other two blocks should slide freely alomg the rod... if they do not, drill them out a little bigger.
Now center the blocks and rod assembly as close as possible.
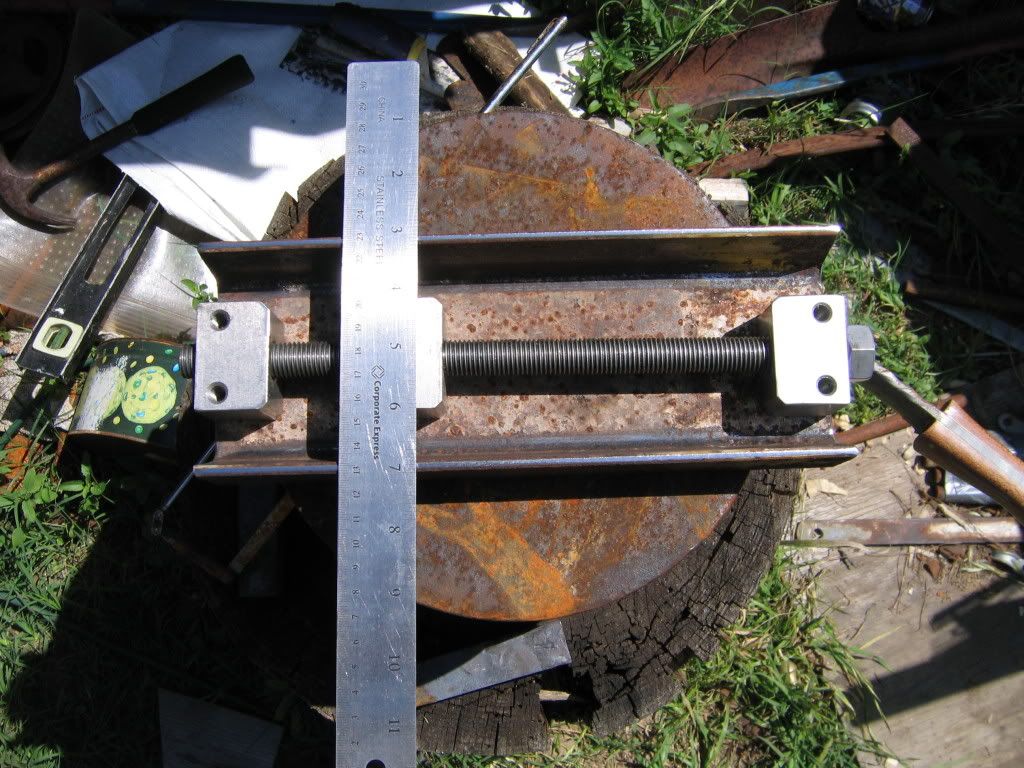
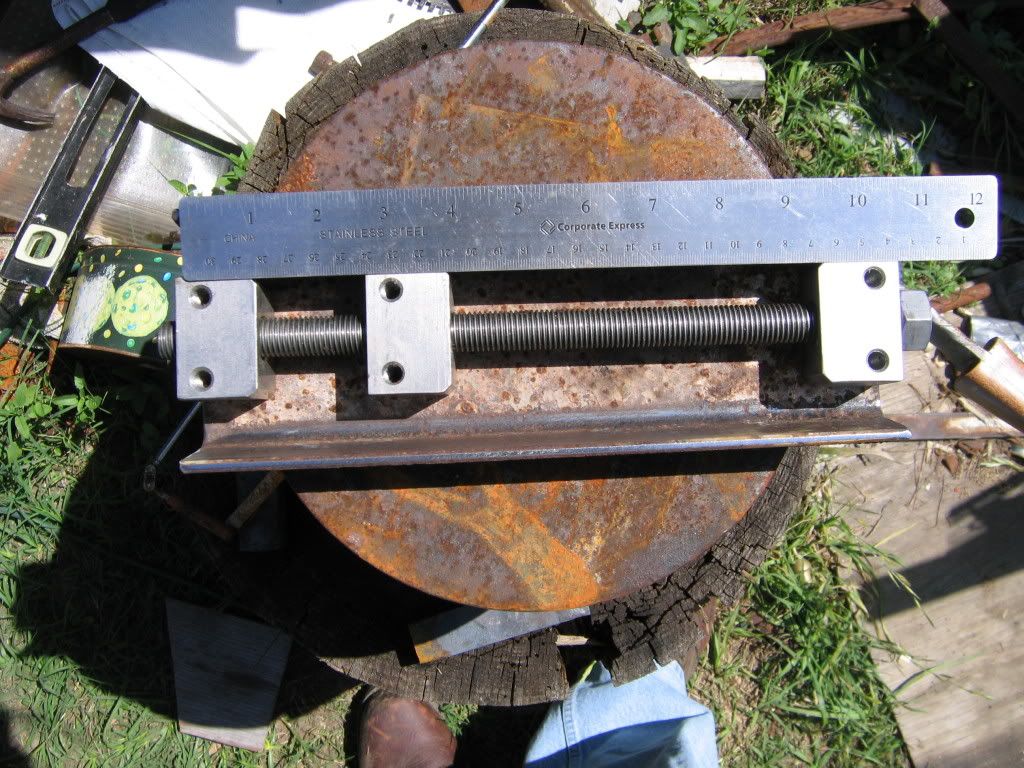
An easy way to mark the hole position is simply hit it with some paint. I had this ugly green that wasnt good for much else...
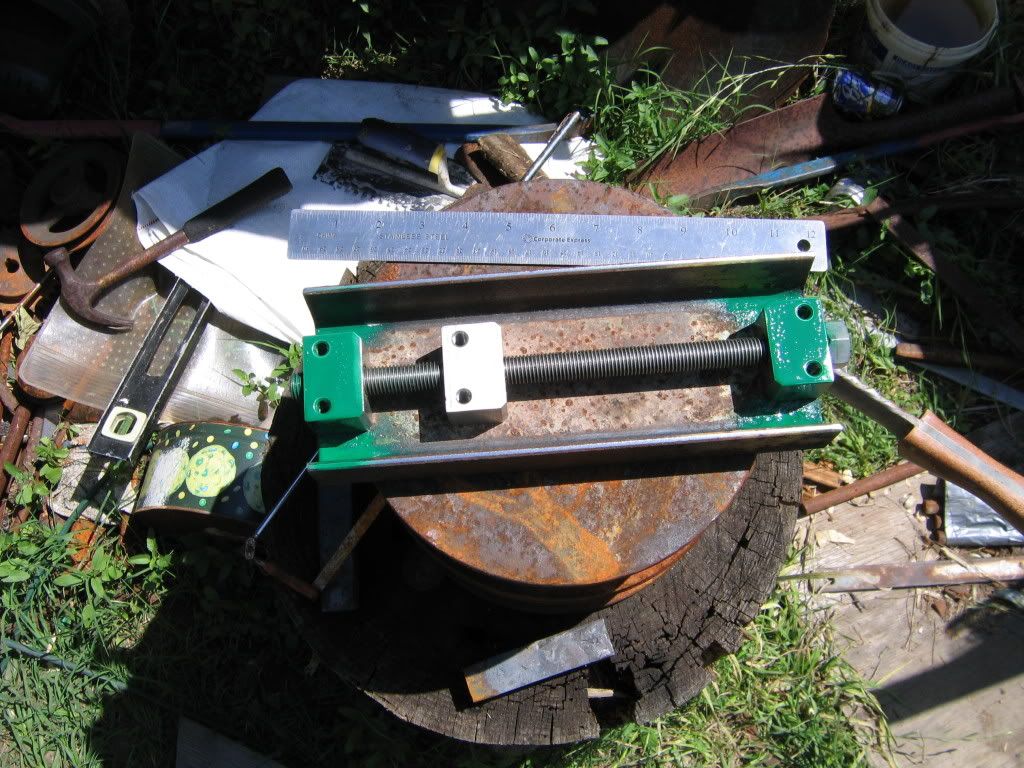
Bolted up
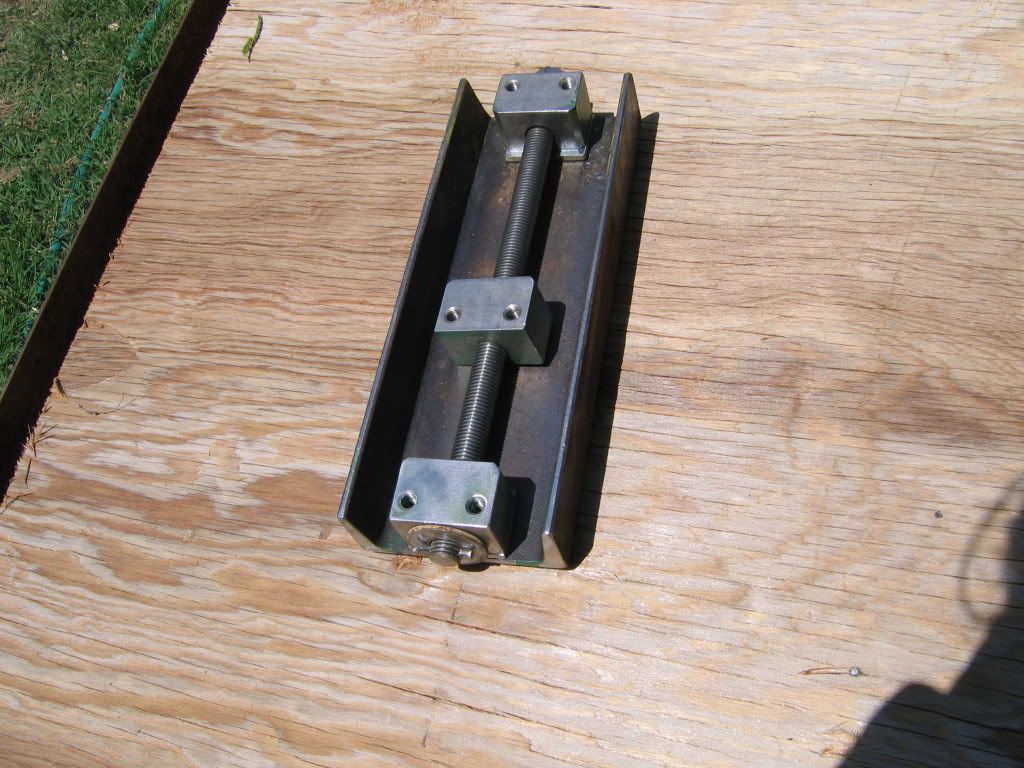
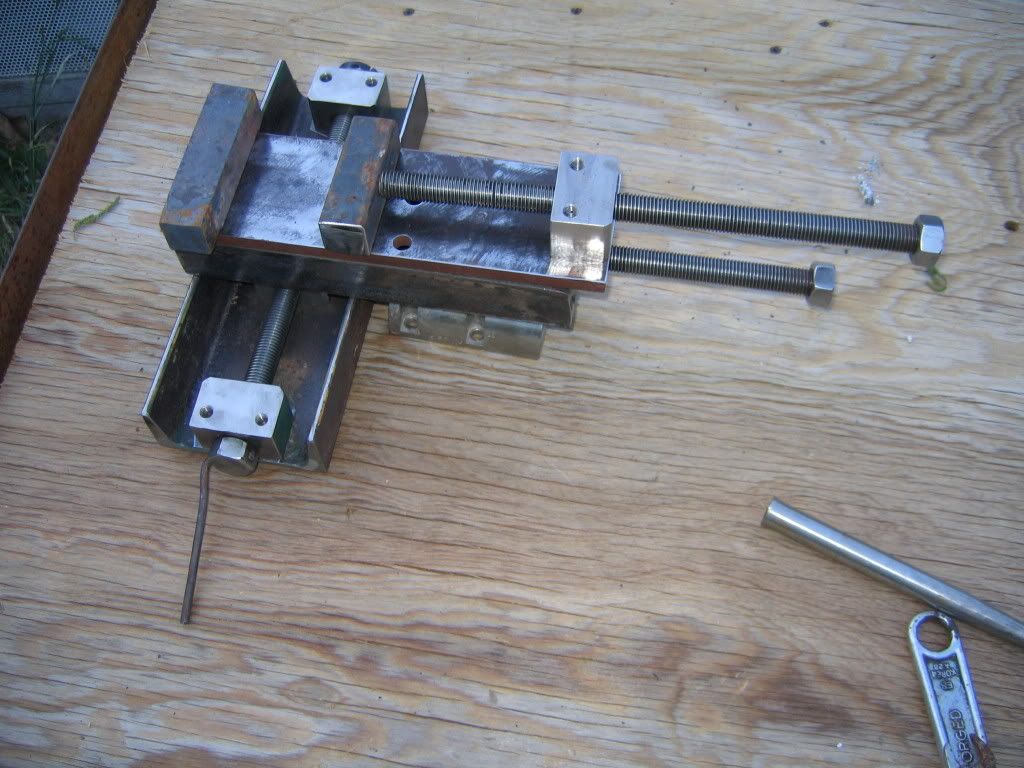
Now to make this work, we have to lick the rod in place, but still allow it to rotate. We accomplish this by drilling through the rod, putting on a washer, and securing it with a pin. a cotter pin would work just as well, but I HAD some stainless pin stock...
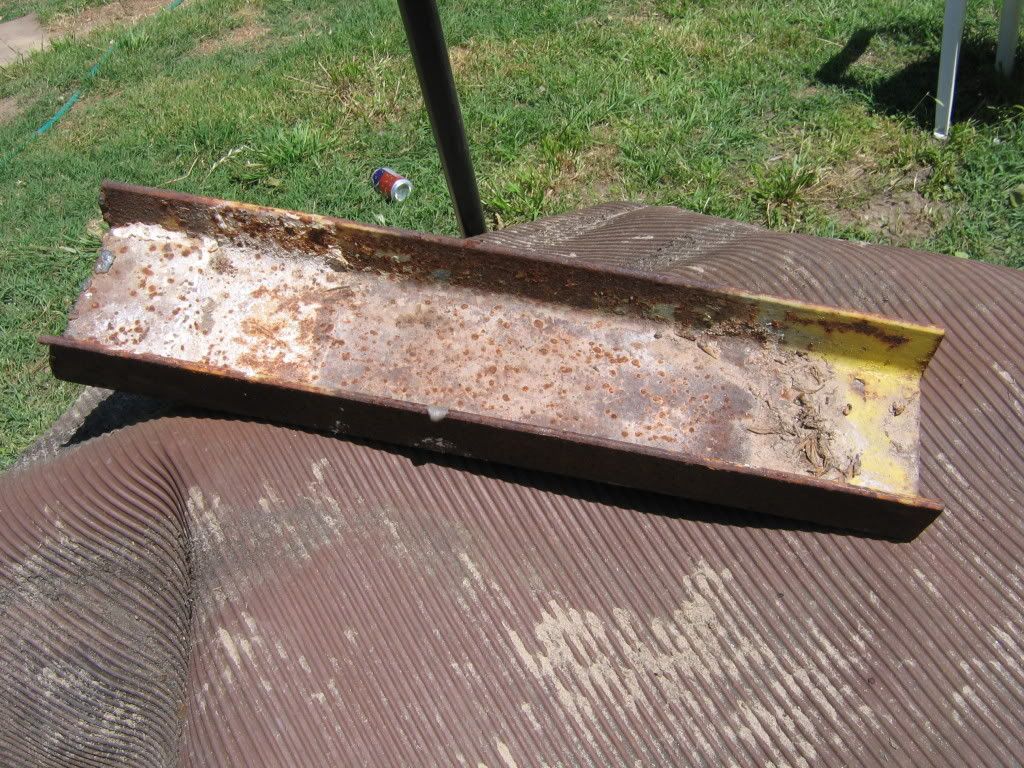
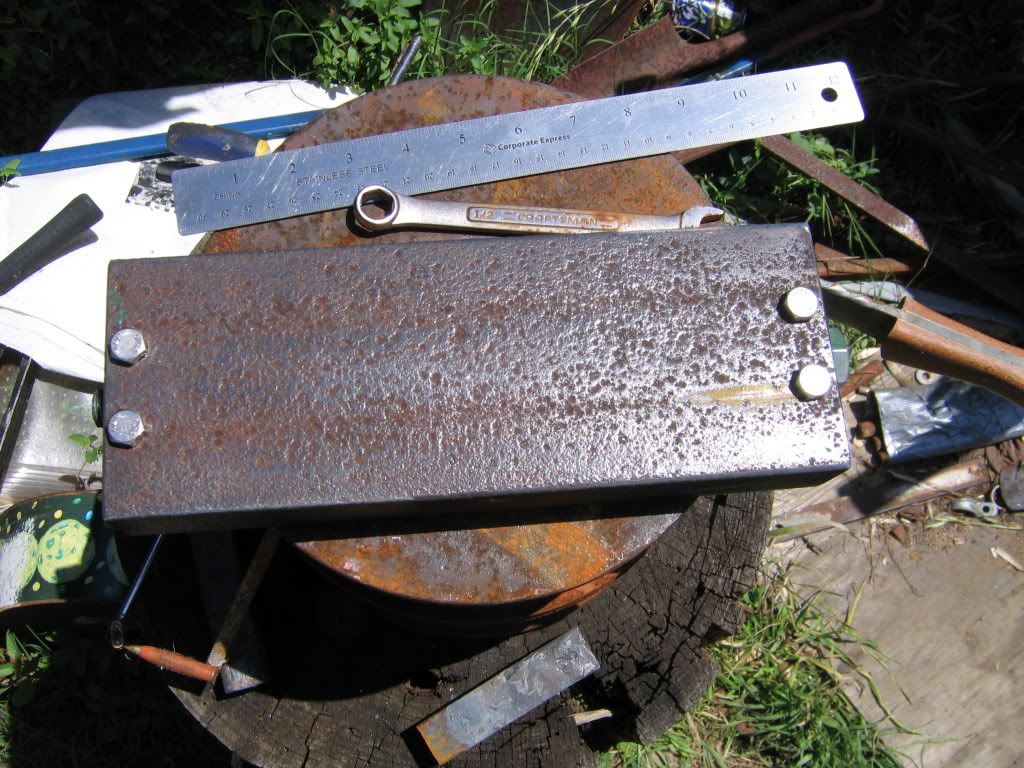
Now to keep chips and such out of the threads, and to help with stability, we will add a cover plate. Digging through the junkpile provided THIS monstrosity, which had a nice piece of 1 1/2 x 3 "C" channel
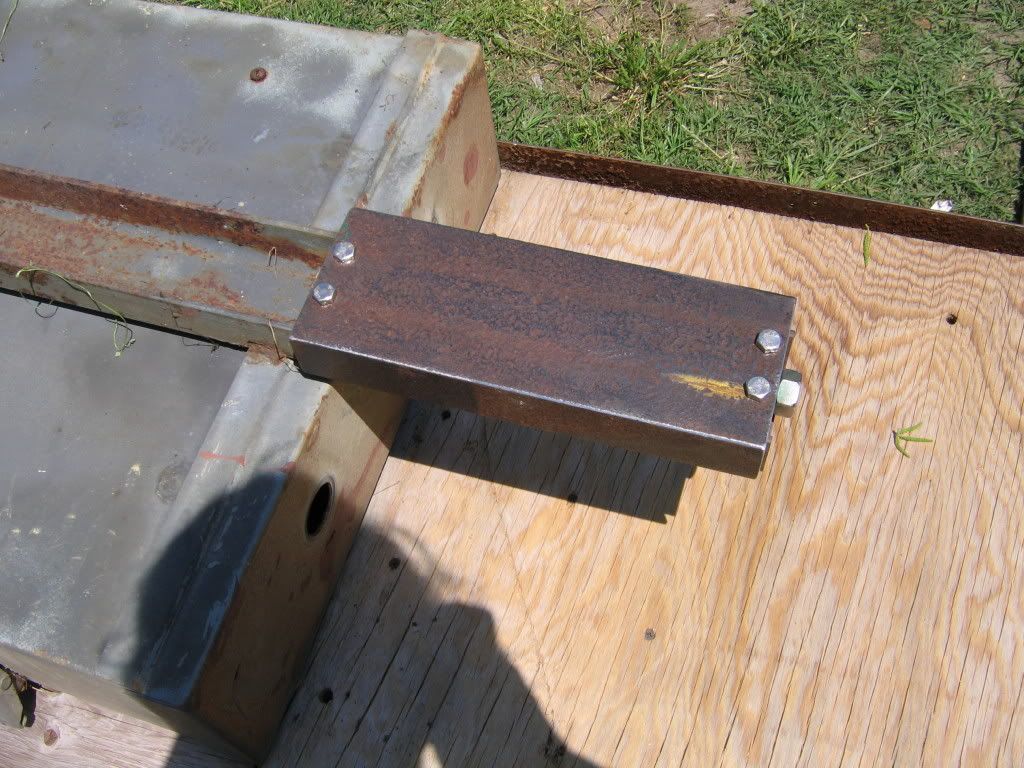
Cut it, dress it, and bolt it on to the middle block. The next one of these will get bolted at 90 derees to this piece.
Drill a hole in the end nut, insert and peen an appropriate sized rod (I used 1/4) and sit and play with it a while, admiring your handiwork! (it goes back, it goes forth... it goes... OOOO SHiNY!)
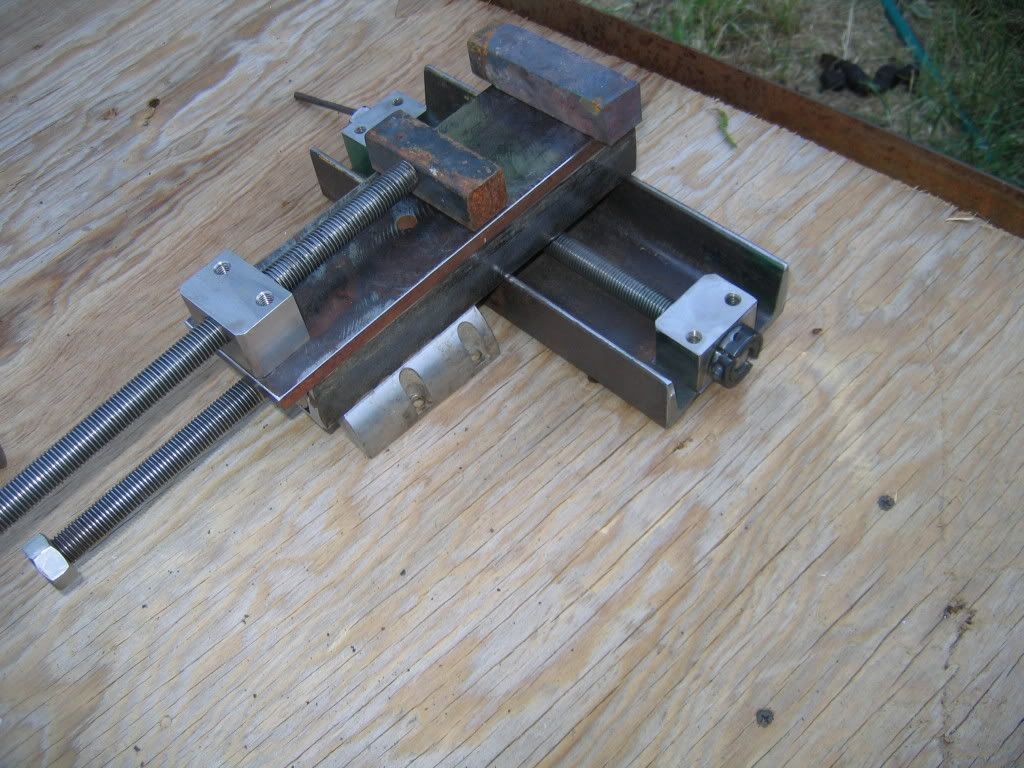
Tomorrow, we make another one, to bolt on top of this one, and a small drill press vice to hold your work...
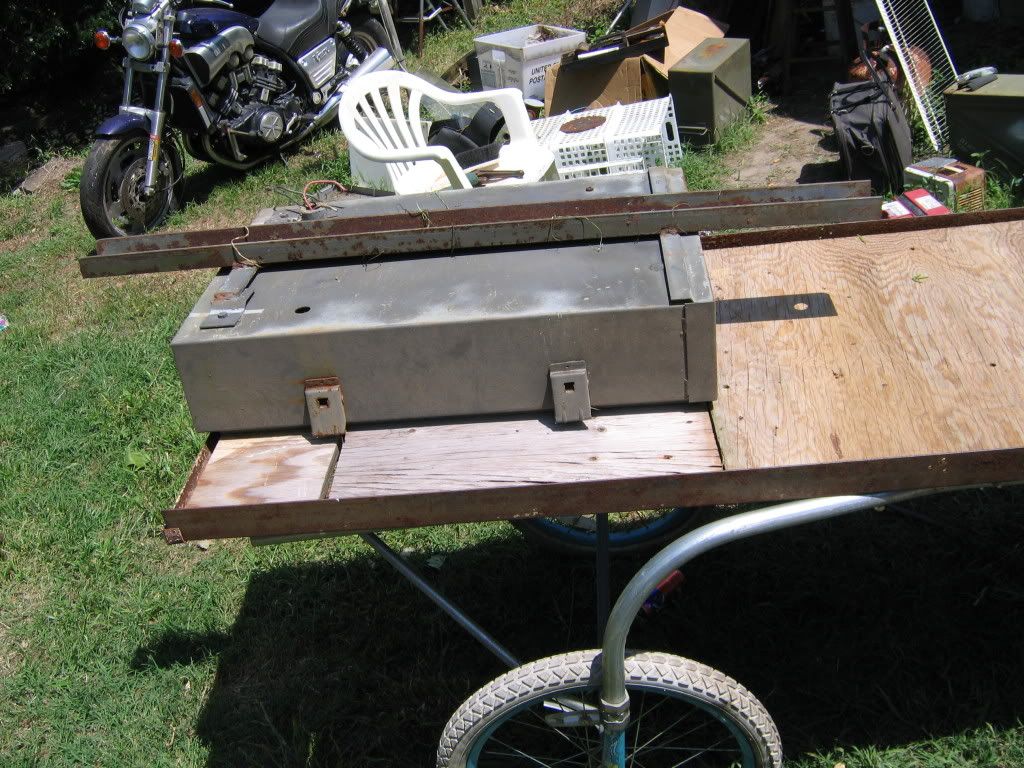
here's todays work. When I get done, I'll take it completely apart, lay the parts out (so you can see what is needed) and give you a step by step assembly.
Is it starting to make a little sense now?
Here's what we need to start
A piece of 4x2 "C" channel
3 blocks of steel the same size... 2 drilled with a 5/8 hole, one drilled and threaded for 5/8 threaded rod
and 1 piece of threaded rod (5/8) woth a nut attached to one end.
Now assemble the three blocks and rod, with the threaded block in the middle. The other two blocks should slide freely alomg the rod... if they do not, drill them out a little bigger.
Now center the blocks and rod assembly as close as possible.
An easy way to mark the hole position is simply hit it with some paint. I had this ugly green that wasnt good for much else...
Bolted up
Now to make this work, we have to lick the rod in place, but still allow it to rotate. We accomplish this by drilling through the rod, putting on a washer, and securing it with a pin. a cotter pin would work just as well, but I HAD some stainless pin stock...
Now to keep chips and such out of the threads, and to help with stability, we will add a cover plate. Digging through the junkpile provided THIS monstrosity, which had a nice piece of 1 1/2 x 3 "C" channel
Cut it, dress it, and bolt it on to the middle block. The next one of these will get bolted at 90 derees to this piece.
Drill a hole in the end nut, insert and peen an appropriate sized rod (I used 1/4) and sit and play with it a while, admiring your handiwork! (it goes back, it goes forth... it goes... OOOO SHiNY!)
Tomorrow, we make another one, to bolt on top of this one, and a small drill press vice to hold your work...
here's todays work. When I get done, I'll take it completely apart, lay the parts out (so you can see what is needed) and give you a step by step assembly.
Is it starting to make a little sense now?


 . JanT Hello to Whitedove and Kentuckybushcraft was looking for a more active discussion of hide tanning. Did have fun making my first avitar, Put my beach umbrellas in it. That was a new experience. Jan