

Post by Grizz on Jan 1, 2008 23:36:41 GMT -5
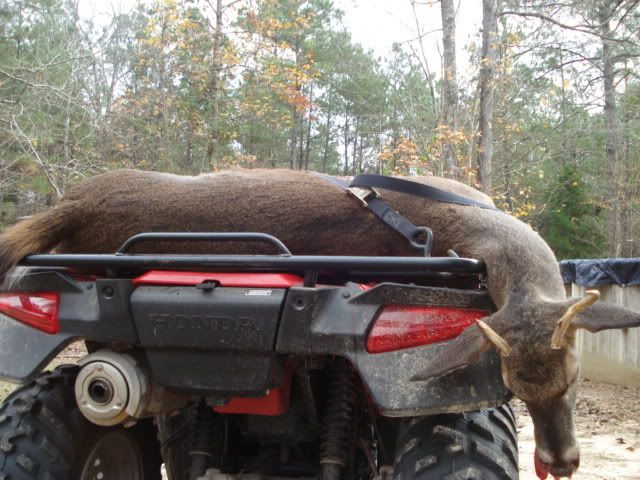
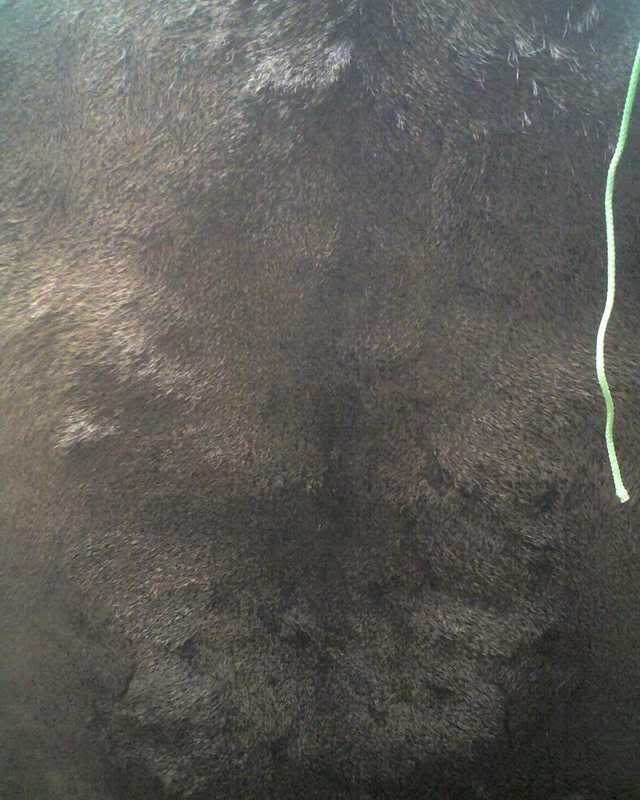
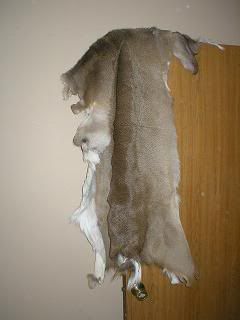
Here's a 2.5 year old spike that I've watched since last season. I didn't think he'd make any better than a spike so I took him out of the gene pool. This will be my first hide to tan so bear with me.
Me and Buckskin Billy mixed up:
5 pounds of salt
2 pounds of aluminum potassium sulphate (alum)
about 10 gallons of water
Aluminum Potassium Sulphate is readily available at any hardware or home and garden store. It is a common fertilizer.
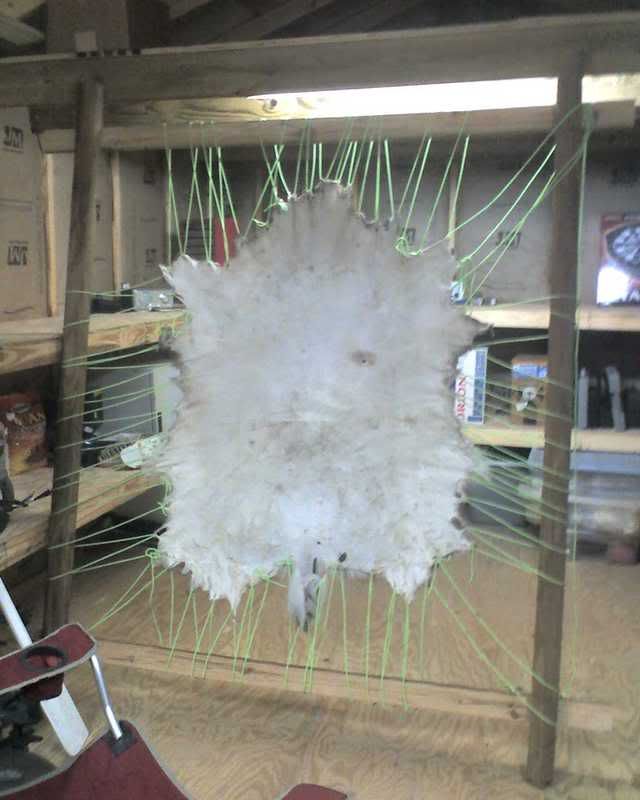
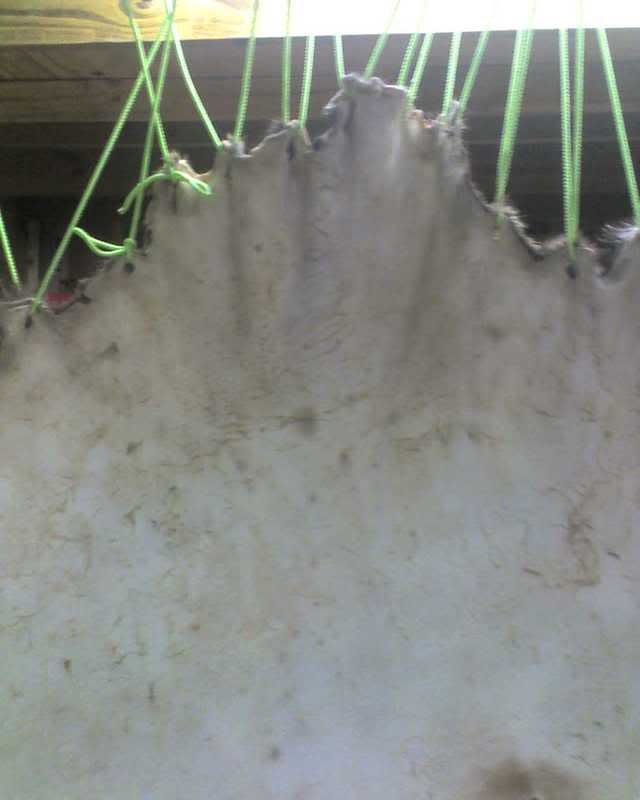
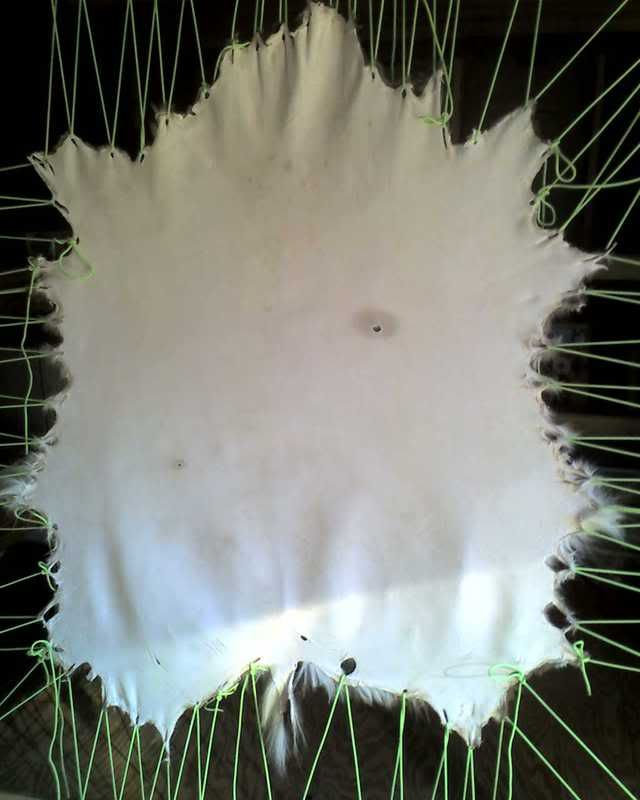
First we rinsed the hide overnight then took it out and let it drip dry for about 20 minutes. Then took it to the fleshing beam. Fleshed it out and dunked it in the alum mixture. The hide stayed in the alum for one week. I went by it 3 times a day and gave it a good stirring. After the week went by, we checked to see that it was evenly white on the flesh side which confirms it's tanned. Then took it out of the alum and let drip dry overnight with the hairside facing up. We started working it on a cable but I decided to build a frame. My frame is 5' wide between the boards and 6' tall between the boards to give you a comparison on the size of this hide. I strung the hide up in the frame using 3/16" cordage found at Wal Mart. Then I started working the hide with a boat paddle.
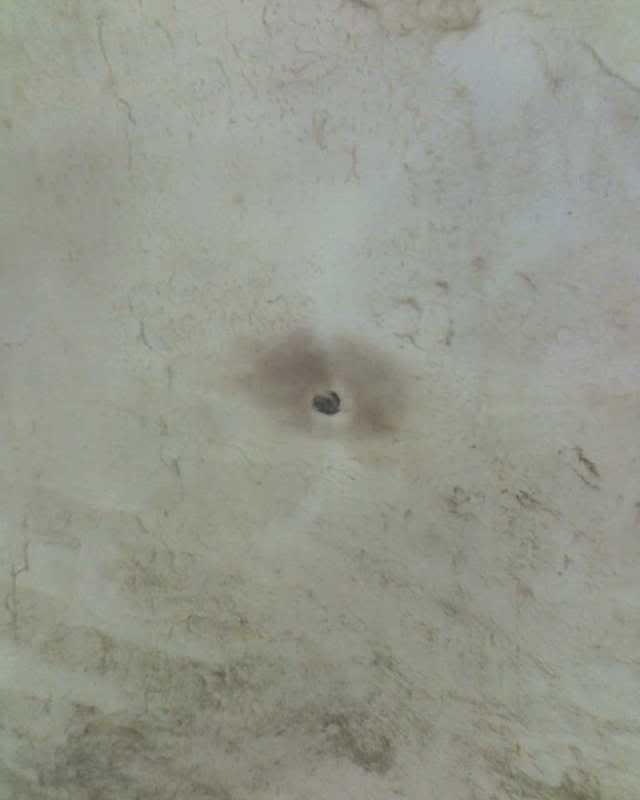
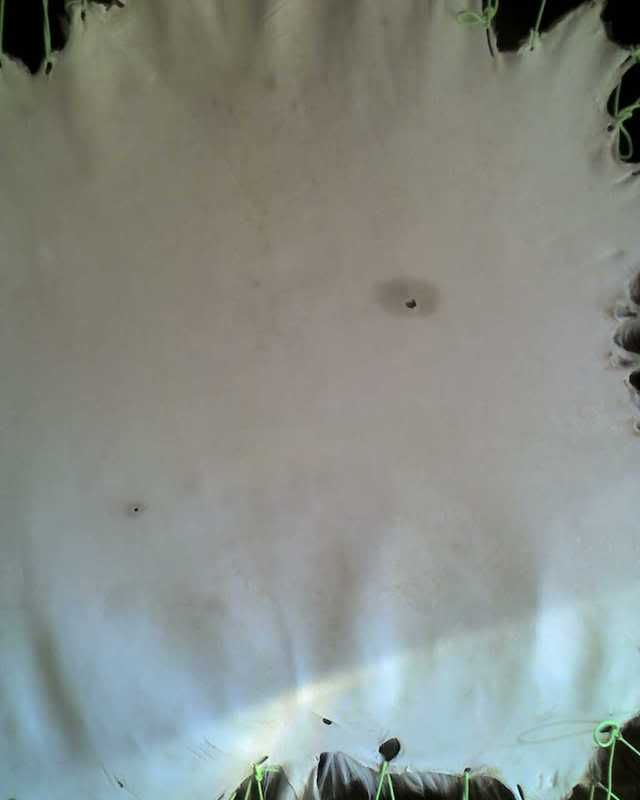
There are stains around the bullet holes that you can see in these pics.
The neck and rump are the thickest and hardest to get dry.
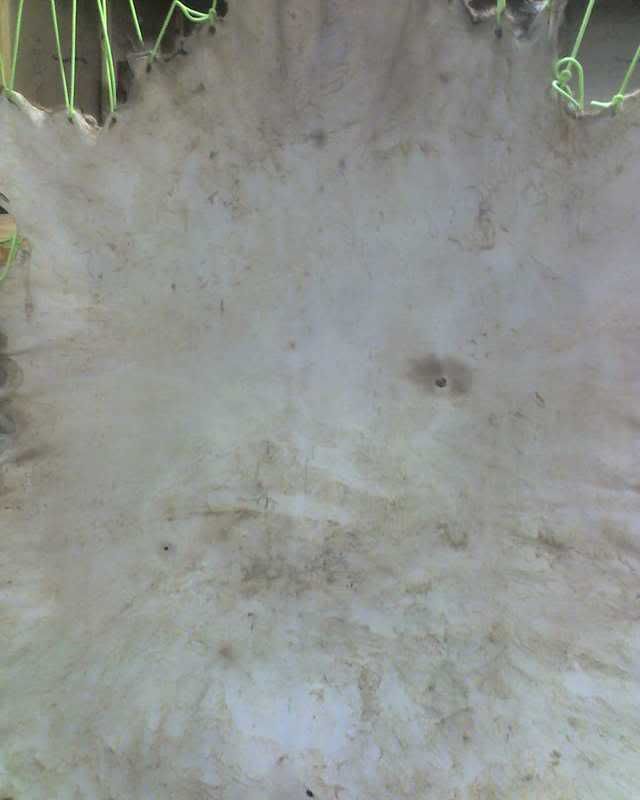
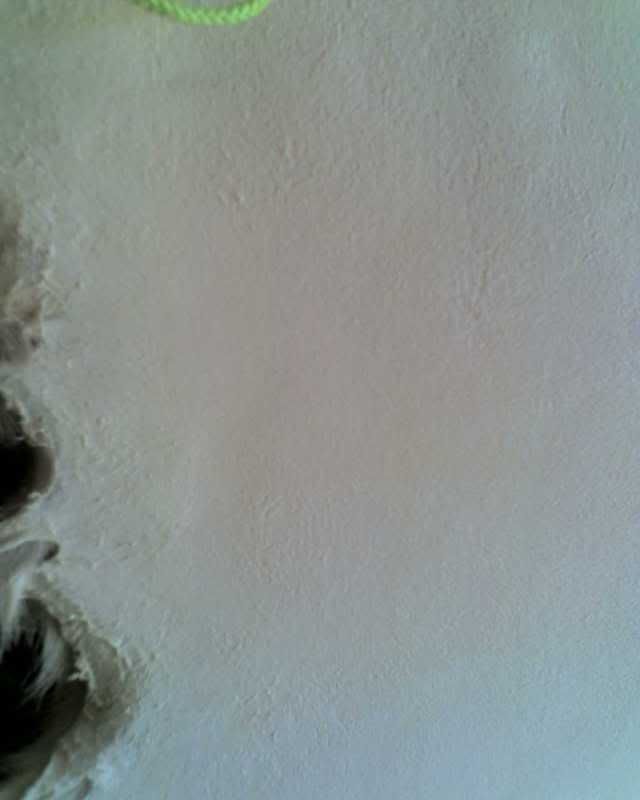
Here you can see the membrane layer that was left on the hide and will be removed while working the hide with a pumice stone.
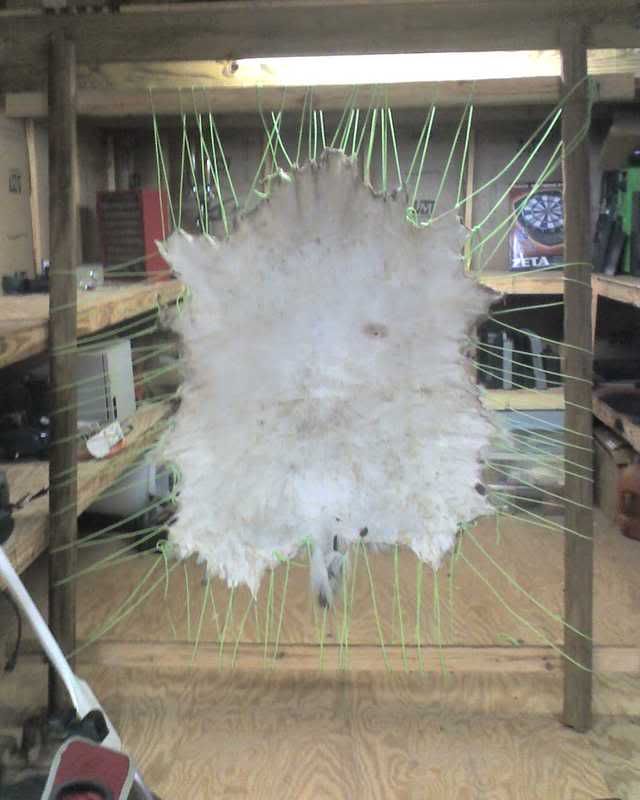
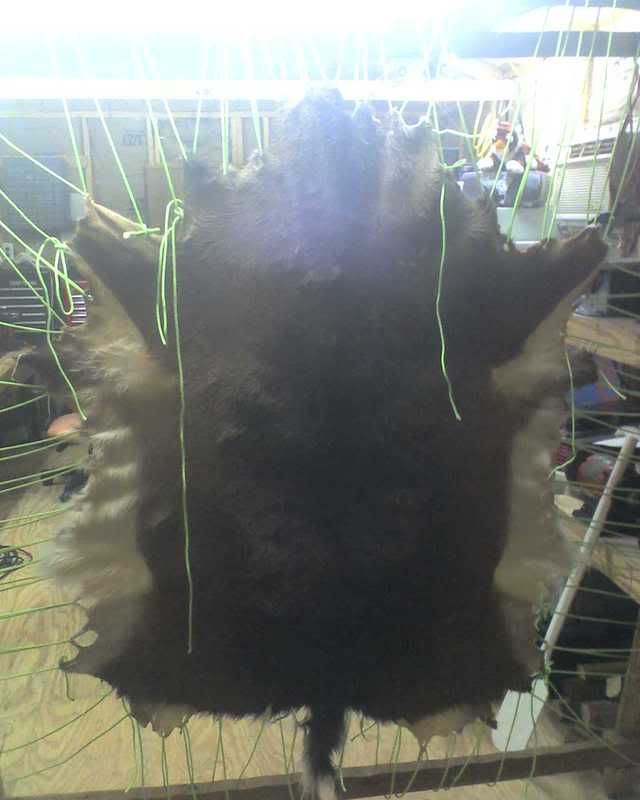
Here you can see the results of many hours working the hide till it dryed and sanding the hide with the pumice stone. It turns out like a micro suede finish and is very smooth to the touch.
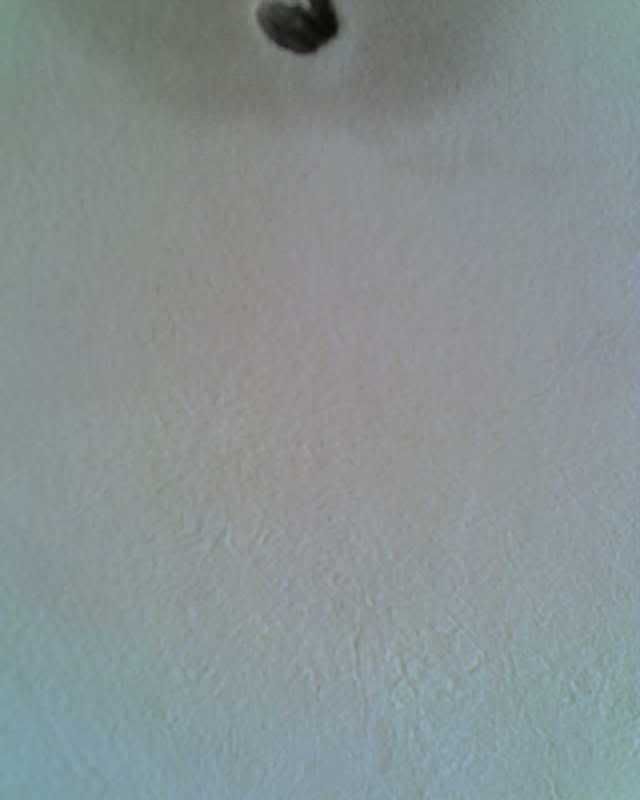
The rump and neck areas turned out wavy but are completely dry and soft. We will be getting ready to smoke it this weekend. Then it will be almost completed.
Me and Buckskin Billy mixed up:
5 pounds of salt
2 pounds of aluminum potassium sulphate (alum)
about 10 gallons of water
Aluminum Potassium Sulphate is readily available at any hardware or home and garden store. It is a common fertilizer.
First we rinsed the hide overnight then took it out and let it drip dry for about 20 minutes. Then took it to the fleshing beam. Fleshed it out and dunked it in the alum mixture. The hide stayed in the alum for one week. I went by it 3 times a day and gave it a good stirring. After the week went by, we checked to see that it was evenly white on the flesh side which confirms it's tanned. Then took it out of the alum and let drip dry overnight with the hairside facing up. We started working it on a cable but I decided to build a frame. My frame is 5' wide between the boards and 6' tall between the boards to give you a comparison on the size of this hide. I strung the hide up in the frame using 3/16" cordage found at Wal Mart. Then I started working the hide with a boat paddle.
There are stains around the bullet holes that you can see in these pics.
The neck and rump are the thickest and hardest to get dry.
Here you can see the membrane layer that was left on the hide and will be removed while working the hide with a pumice stone.
Here you can see the results of many hours working the hide till it dryed and sanding the hide with the pumice stone. It turns out like a micro suede finish and is very smooth to the touch.
The rump and neck areas turned out wavy but are completely dry and soft. We will be getting ready to smoke it this weekend. Then it will be almost completed.

 . JanT Hello to Whitedove and Kentuckybushcraft was looking for a more active discussion of hide tanning. Did have fun making my first avitar, Put my beach umbrellas in it. That was a new experience. Jan